n8n Workflows
- Weather Forecast Email – Receive Automated Weather Forecasts Daily (JSON Direct Link | n8n template link)
- Find recipes from API Ninjas using a web form (JSON Direct Link | n8n template link)
- Build an AI recipe assistant with OpenAI and API integration in n8n (JSON Direct Link | n8n template link)
Video
Video Summary
Today, we’re diving into how you can connect practically any tool’s API using n8n. This skill unlocks a new level of automation, allowing you to build powerful and custom workflows.
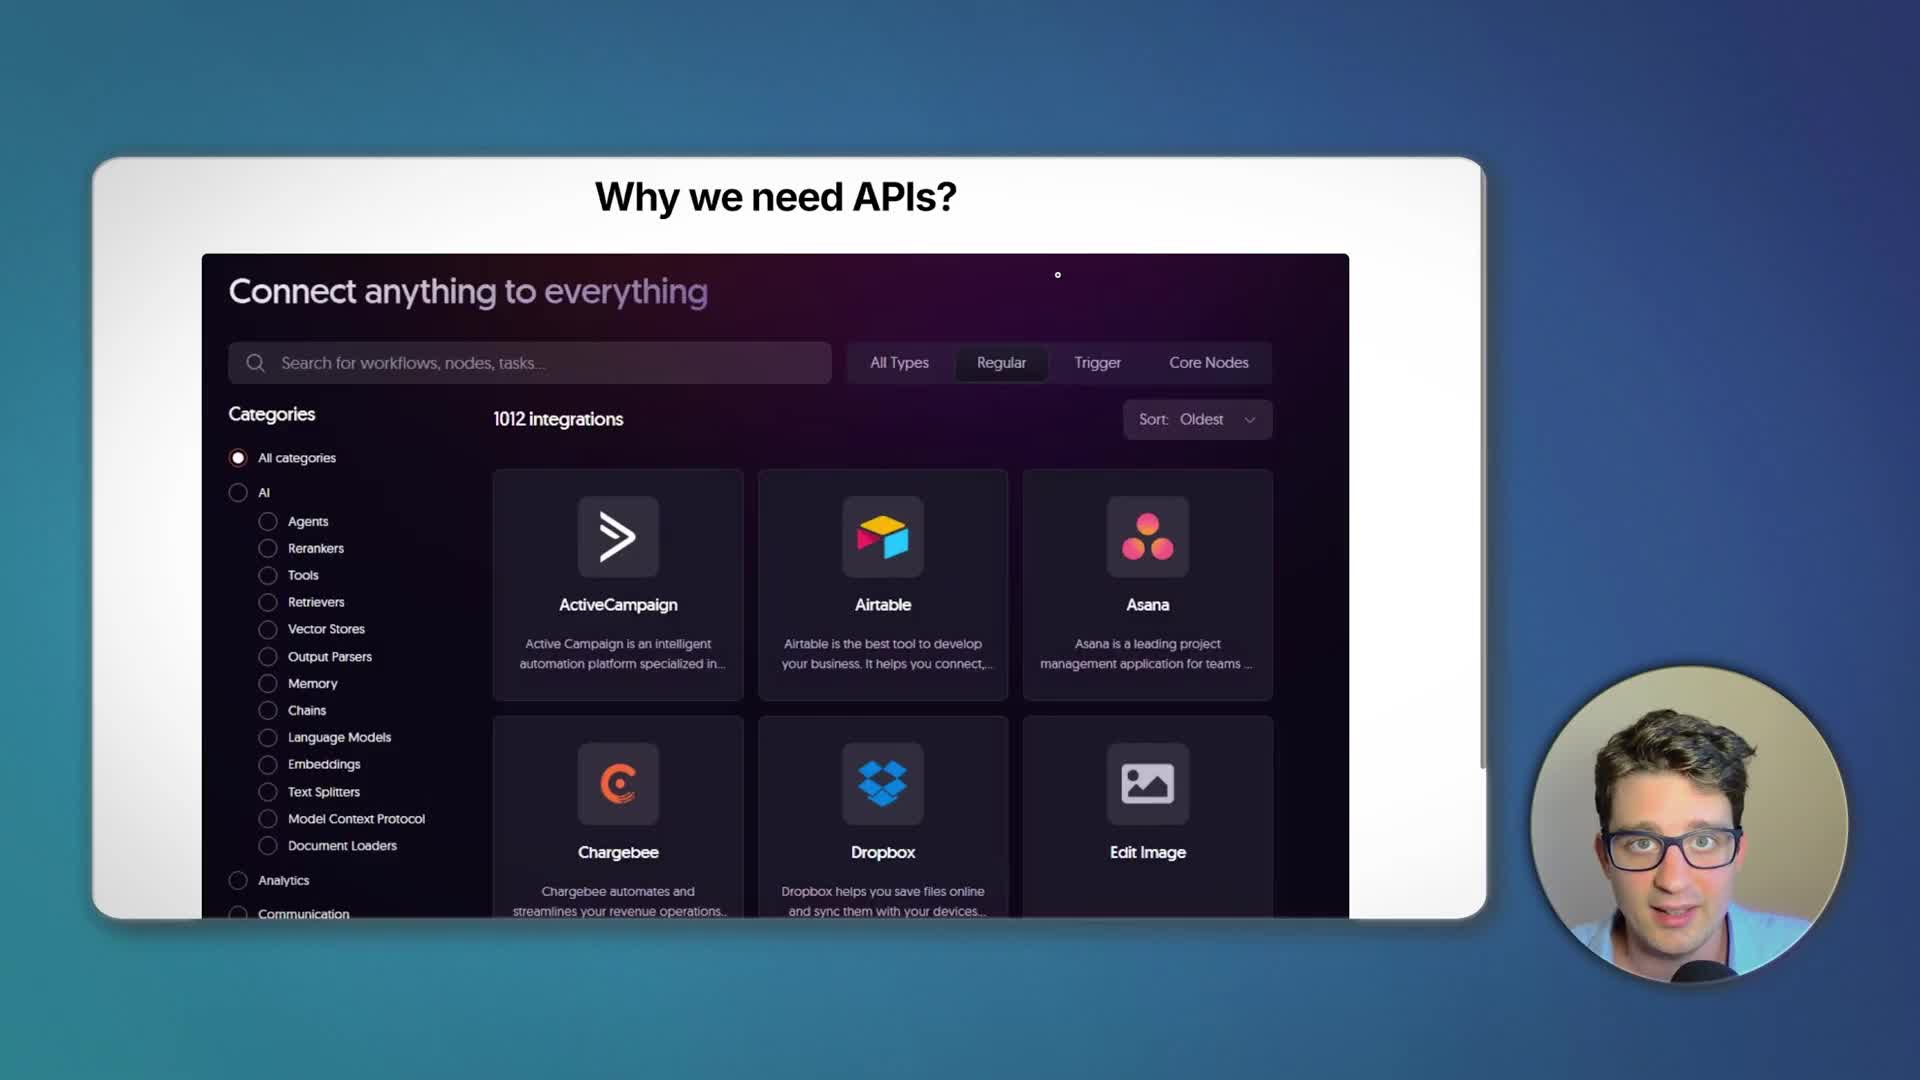
Why Use APIs Directly in n8n?
APIs (Application Programming Interfaces) are essential for a few key tasks: connecting to the tools we use, synchronizing data in and out, and automating tasks within those tools. While n8n offers over a thousand pre-built integrations (nodes) that provide a visual way to connect services, there are good reasons to work directly with APIs:
Full Functionality: Pre-built nodes are often a simplified wrapper around an API and may not expose every available feature. Direct API calls give you access to the full power of a service.
Connecting Niche Tools: Many specialized or newer tools don’t have a dedicated n8n node. If a tool has an API, you can still integrate it.
Learning direct API integration is crucial for building truly custom and comprehensive automation workflows.
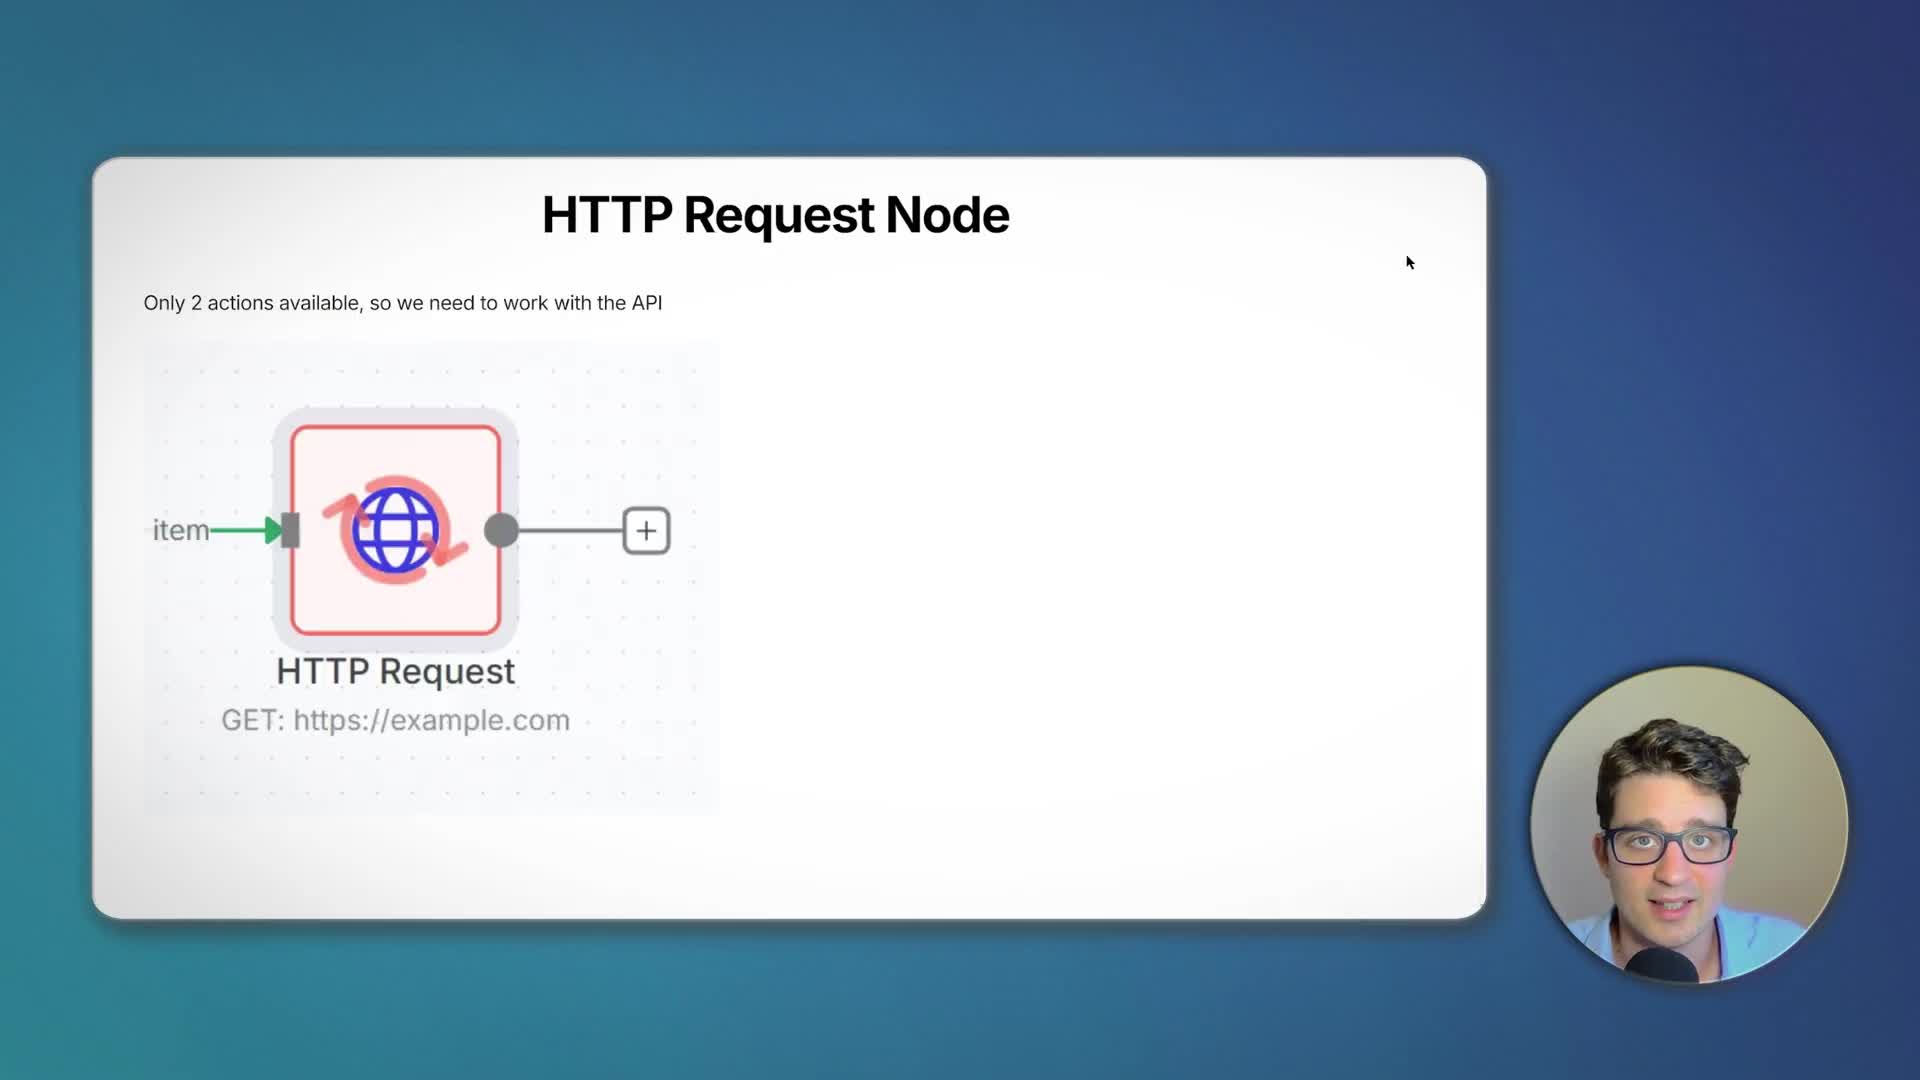
The Core Component: HTTP Request Node
Fortunately, n8n makes API to API integration relatively straightforward with its built-in HTTP Request Node. This node is your universal key to communicating with any API. While it requires understanding a few technical details, we’ll start with the basics and build up to more advanced applications.
Three Hands-On Projects
We will build three projects to demonstrate these concepts:
1. Daily Weather Forecast: An automation that fetches today’s and tomorrow’s weather forecast and sends it in a daily email.
2. Recipe Finder App: A simple web application that uses a form to query a recipe database API and display the results.
3. Simple AI Agent: An AI chatbot that can use the recipe API as a tool to answer user questions.

Project 1: Automated Daily Weather Forecast Email
Finding a Suitable API: MeteoSource
To get weather data, we need an external tool. For this project, we’ll use MeteoSource, a weather API that offers a generous free plan with 400 calls per day, which is more than enough for our needs. When working with any API, you always need two key things:
API Key: Think of this as your password to access the service. It’s unique to your account and should be kept private.
Documentation: This is the manual that explains how to use the API—what functions (endpoints) are available, what data you need to send, and what data you’ll get back.
After signing up for MeteoSource, you can find your API key on your dashboard and access the API documentation to understand how to make requests.

Building the Workflow in n8n
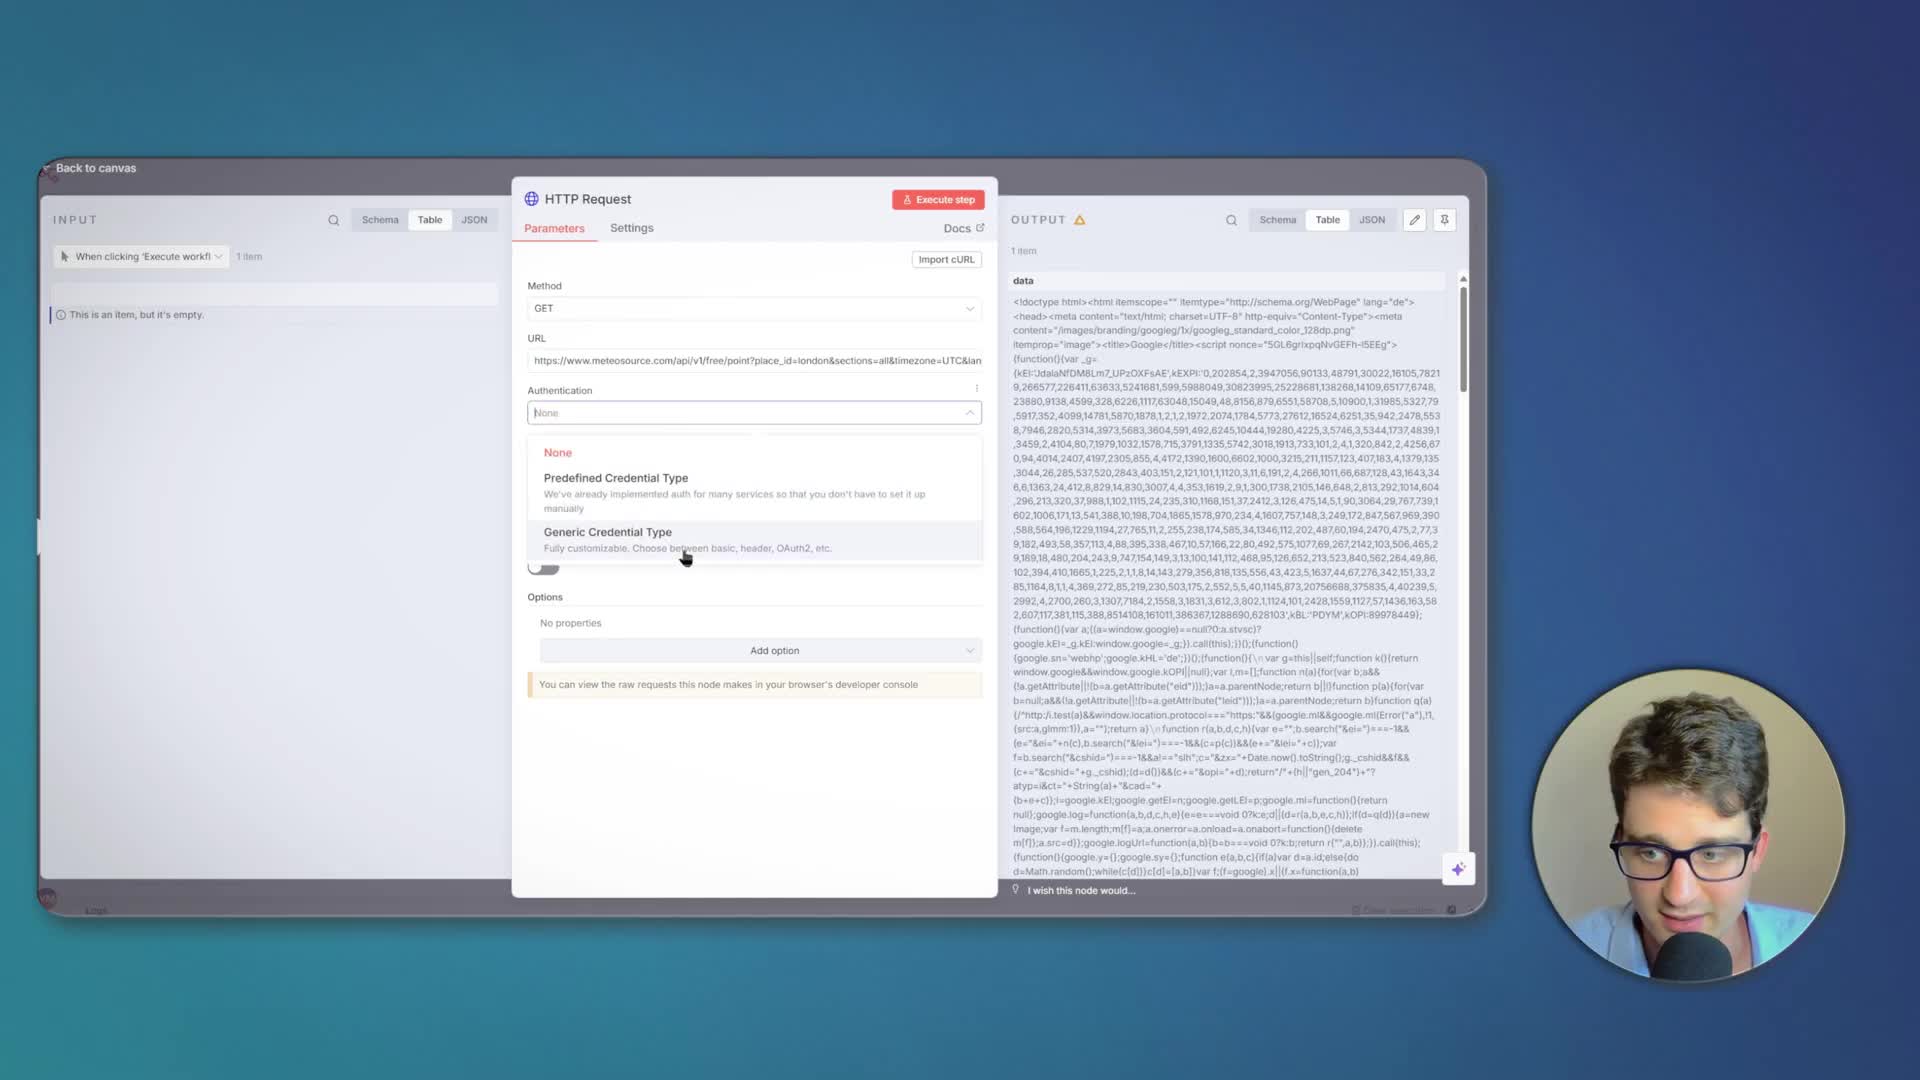
The core of our automation will be the HTTP Request node. Here’s how to set it up:
1. Set the URL: Copy the example request URL from the MeteoSource documentation. This is the endpoint our workflow will call.
2. Handle Authentication: Instead of hardcoding the API key directly in the URL (which is insecure), use n8n’s credentials feature. Since the MeteoSource API key is passed as a URL parameter (e.g., &key=YOUR-API-KEY), we use the Query Auth generic credential type. Create a new credential, name the parameter ‘key’, and paste your API key as the value.
3. Configure Query Parameters: To make the workflow cleaner and easier to manage, move other parameters like place_id, sections, and units from the URL string into the ‘Send Query Parameters’ section of the node. This structures the request neatly into key-value pairs.
Formatting and Sending the Email
After executing the HTTP Request node, n8n receives the weather data in JSON format. We can then use a Gmail node to send an email. By using expressions, we can drag and drop the data from the previous node’s output to dynamically populate the email’s subject and body with the weather summary for today and tomorrow. Finally, replace the manual trigger with a Schedule Trigger set to run every morning to fully automate the process.
Project 2: Recipe Finder Application
For our second project, we’ll build a simple web app that finds recipes. This introduces a new authentication method and shows how to create an interactive experience.
Using the Recipe API and Header Authentication
We’ll use the Recipe API from API Ninjas. Unlike the previous example, this API requires the API key to be sent in the request headers, not the URL. This is a common and more secure authentication method. In n8n, this corresponds to the Header Auth generic credential type. You’ll create a credential where the ‘Name’ is the header name (e.g., ‘X-Api-Key’) and the ‘Value’ is your actual API key.
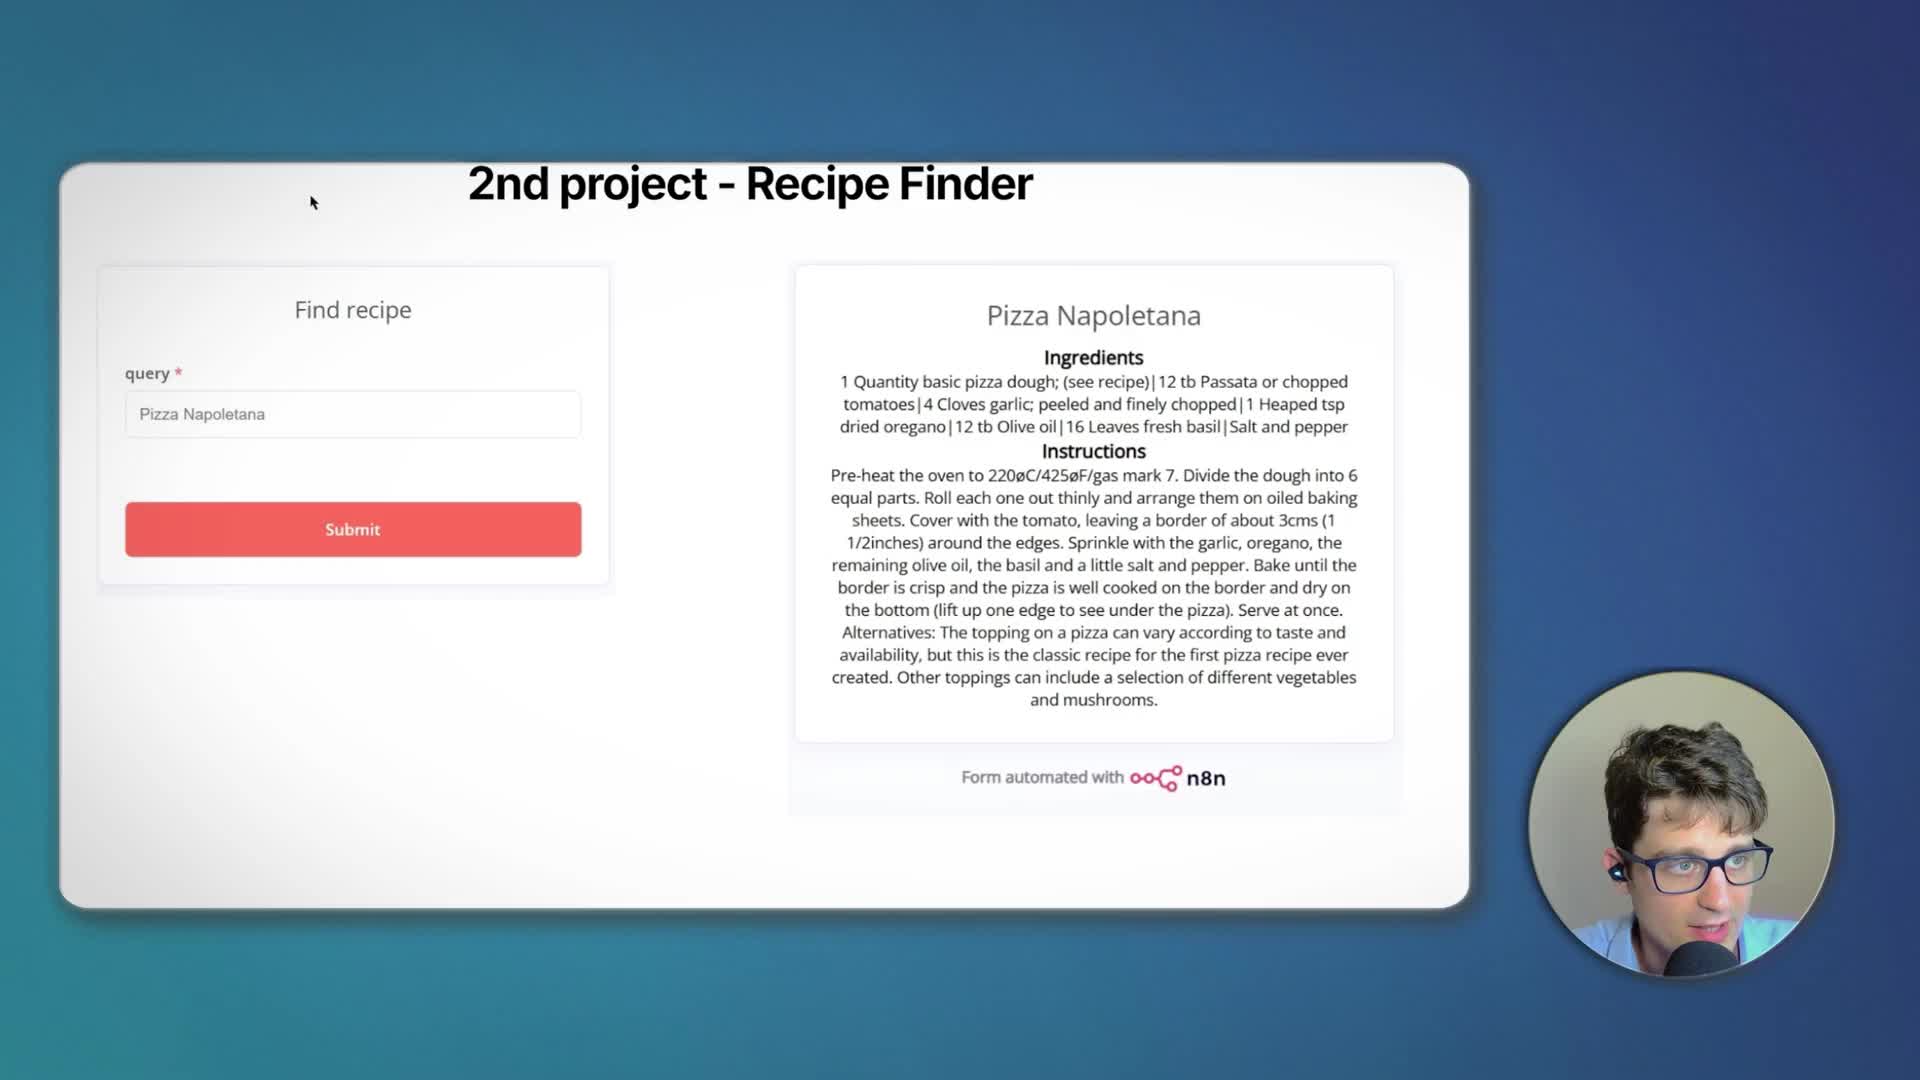
Creating the Interactive Form
The workflow starts with an On form submission trigger. This node automatically generates a public URL for a web form. We configure it with a title and a text field named ‘query’. The data from this form submission will trigger the workflow and be passed to the HTTP Request node. We set the ‘query’ parameter in the HTTP node to use the dynamic value from the form submission. To display the result, we add a final Form node set to ‘Form Ending’. This node shows a completion screen to the user, where we can use HTML and expressions to format and display the recipe title, ingredients, and instructions returned by the API.
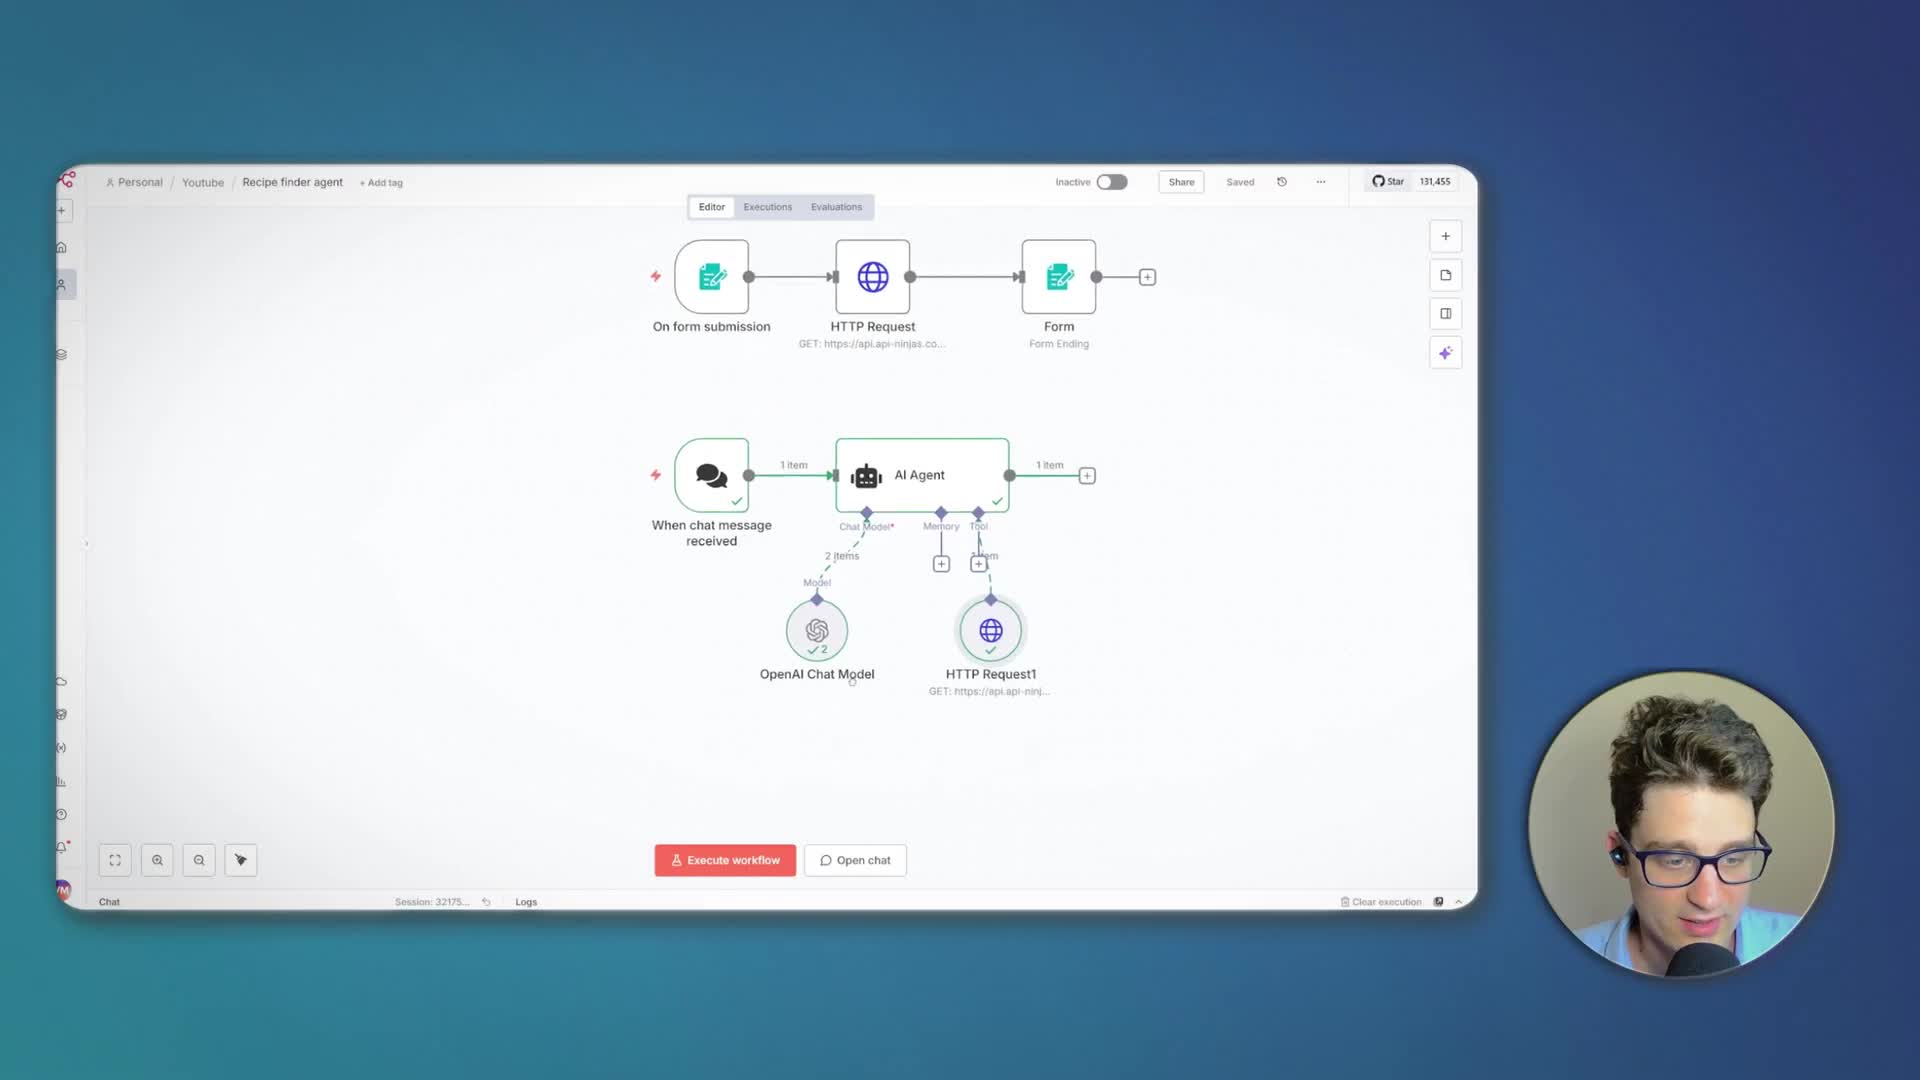
Project 3: A Simple AI Agent
Our final project demonstrates how to give an AI agent the ability to use our custom API connection as a tool. This enables it to fetch real-time, external data to answer questions.
The workflow uses a Chat Trigger to start a conversation, which connects to an AI Agent node. The agent is connected to a language model (like OpenAI) and a tool. The tool we provide is an HTTP Request Tool. In this tool’s settings, we configure our Recipe API call just as we did before. Crucially, for the ‘query’ parameter’s value, we select the option ‘Defined automatically by the model’. We also provide a clear description for the tool, such as ‘Use the query parameter to specify the food, and it will return a recipe’. This description tells the AI what the tool does and how to use it. When a user asks for a recipe, the AI understands it needs to use this tool, determines the correct value for the ‘query’ parameter from the user’s message, calls the API, and then formats the returned data into a helpful, conversational answer.