n8n Workflows
- Extract receipt data from Google Drive to Google Sheets using AI (JSON Direct Link | n8n template link)
Resources
Video
Video Summary
Automate Receipt Processing with AI
Manually entering data from receipts is a time-consuming task. In this guide, we’ll show you how to build a powerful automation that eliminates this chore. By simply dropping a receipt image into a Google Drive folder, this workflow will automatically extract the key information, log it in a Google Sheet, and send you an email notification. This saves time, reduces errors, and keeps your expense tracking effortlessly up-to-date.
How the Automation Works
The process is simple and runs entirely in the background:
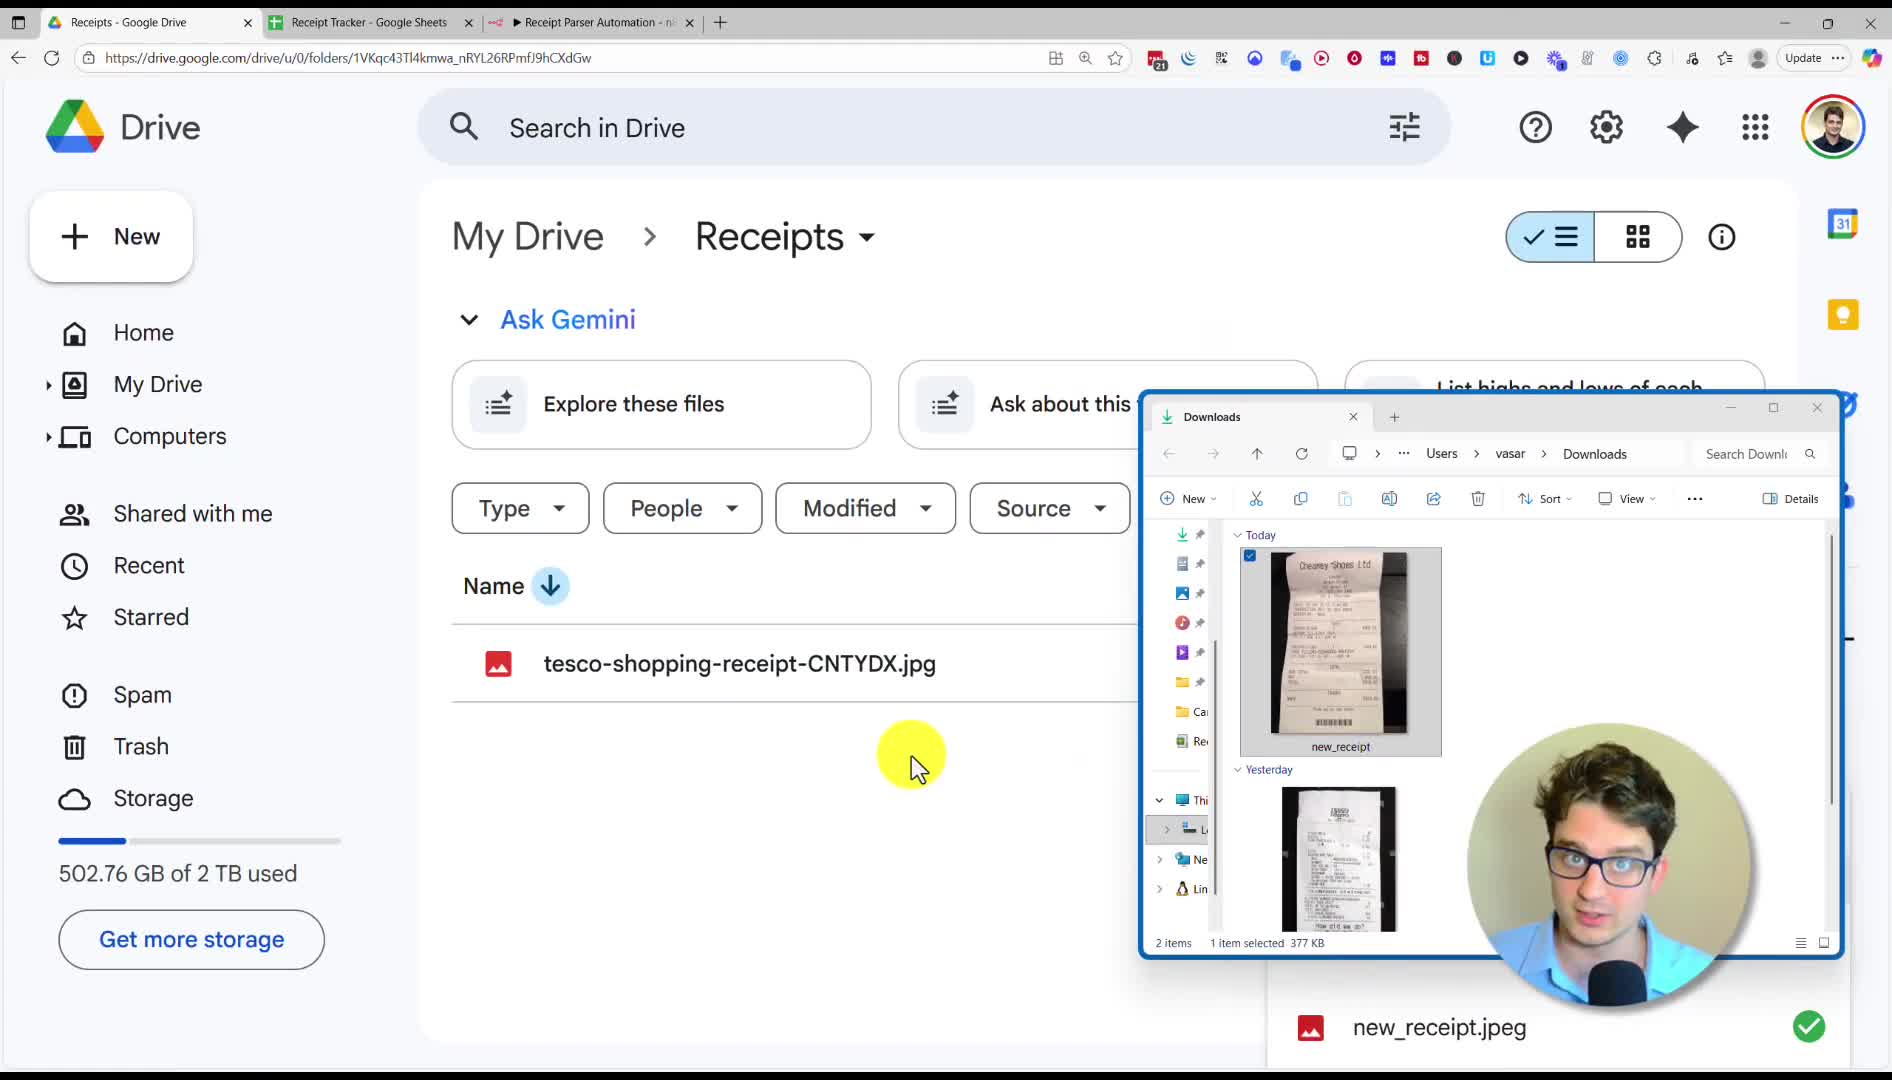
1. Upload: A new receipt image is uploaded to a designated Google Drive folder.
2. Extract: An AI Agent automatically reads the receipt, extracting data like the vendor, date, items purchased, and the total amount.
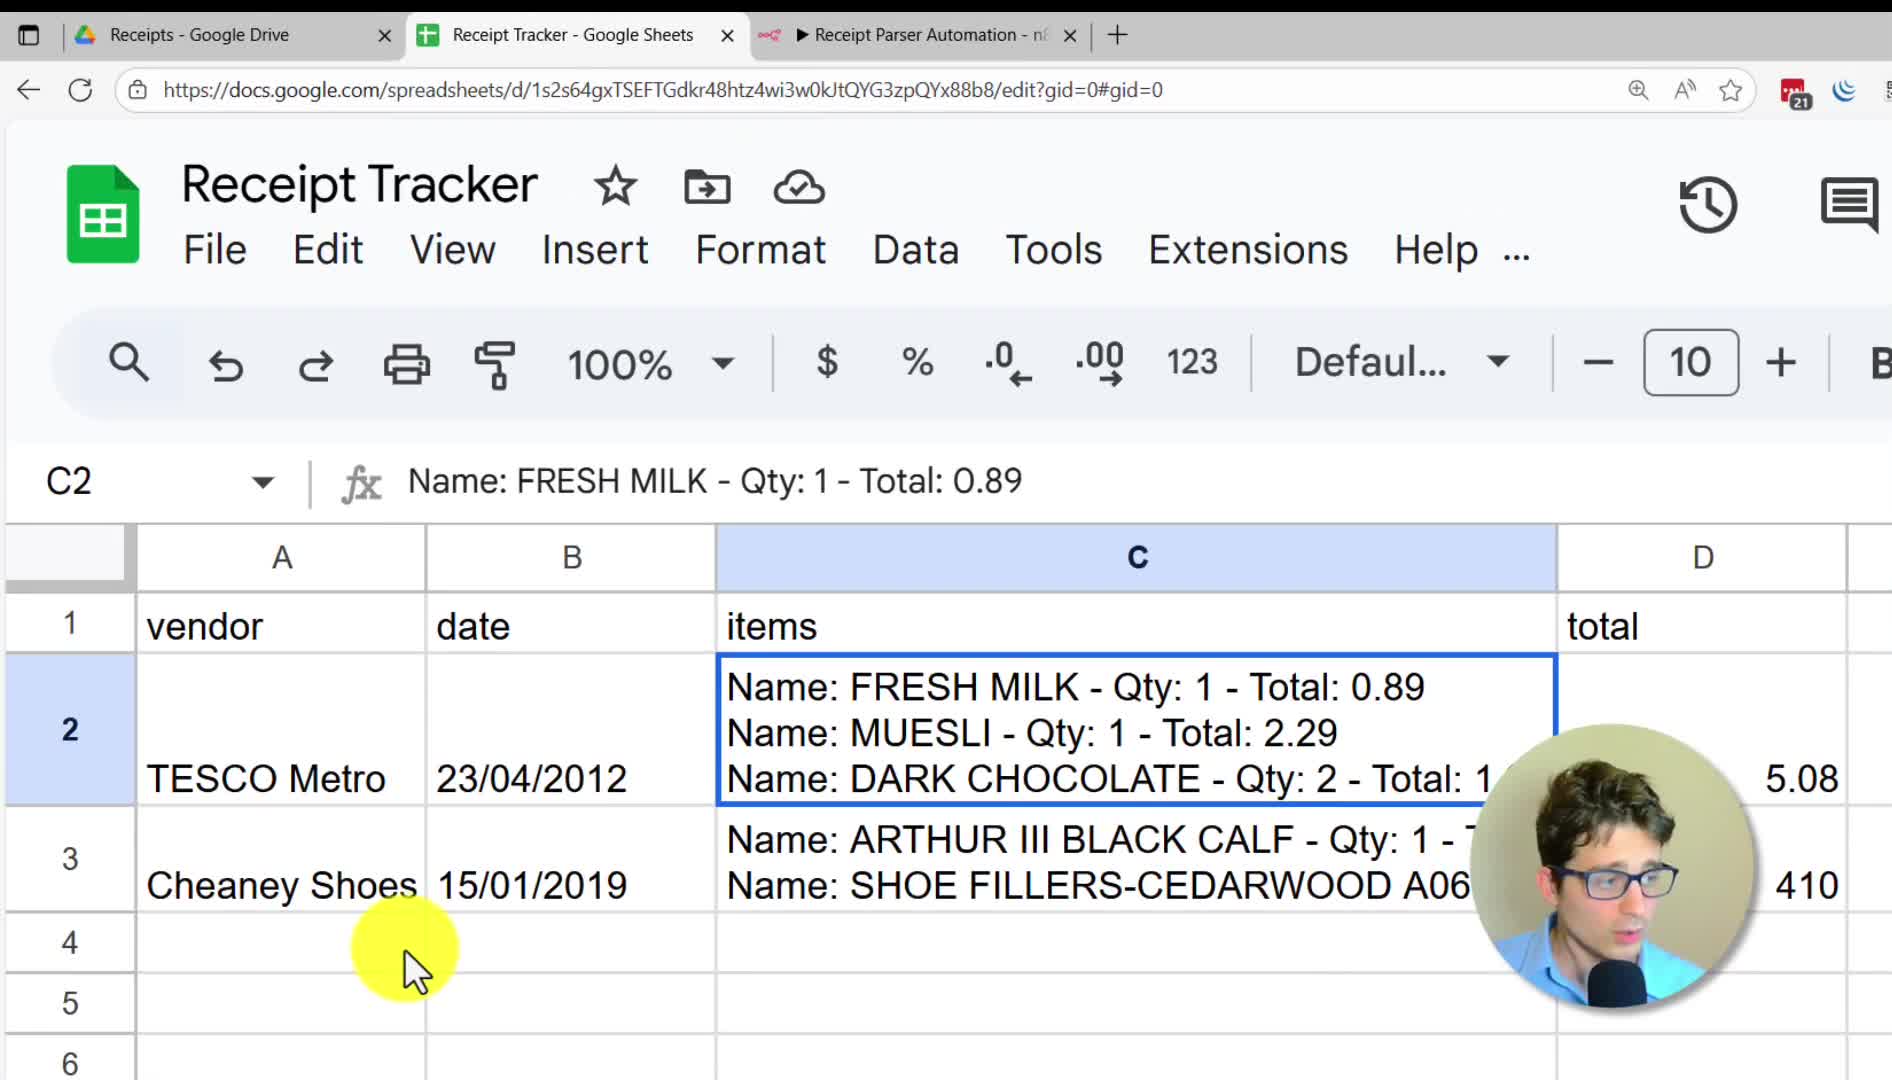
3. Log: The extracted data is neatly organized and appended as a new row in a Google Sheet.
4. Notify: A confirmation email containing a summary of the processed receipt is sent to your inbox.
Building the Workflow Step-by-Step
We will build this automation using n8n, a powerful workflow automation tool. You can get started with their free self-hosted version or try their cloud platform.
Step 1: Set Up the Google Drive Trigger
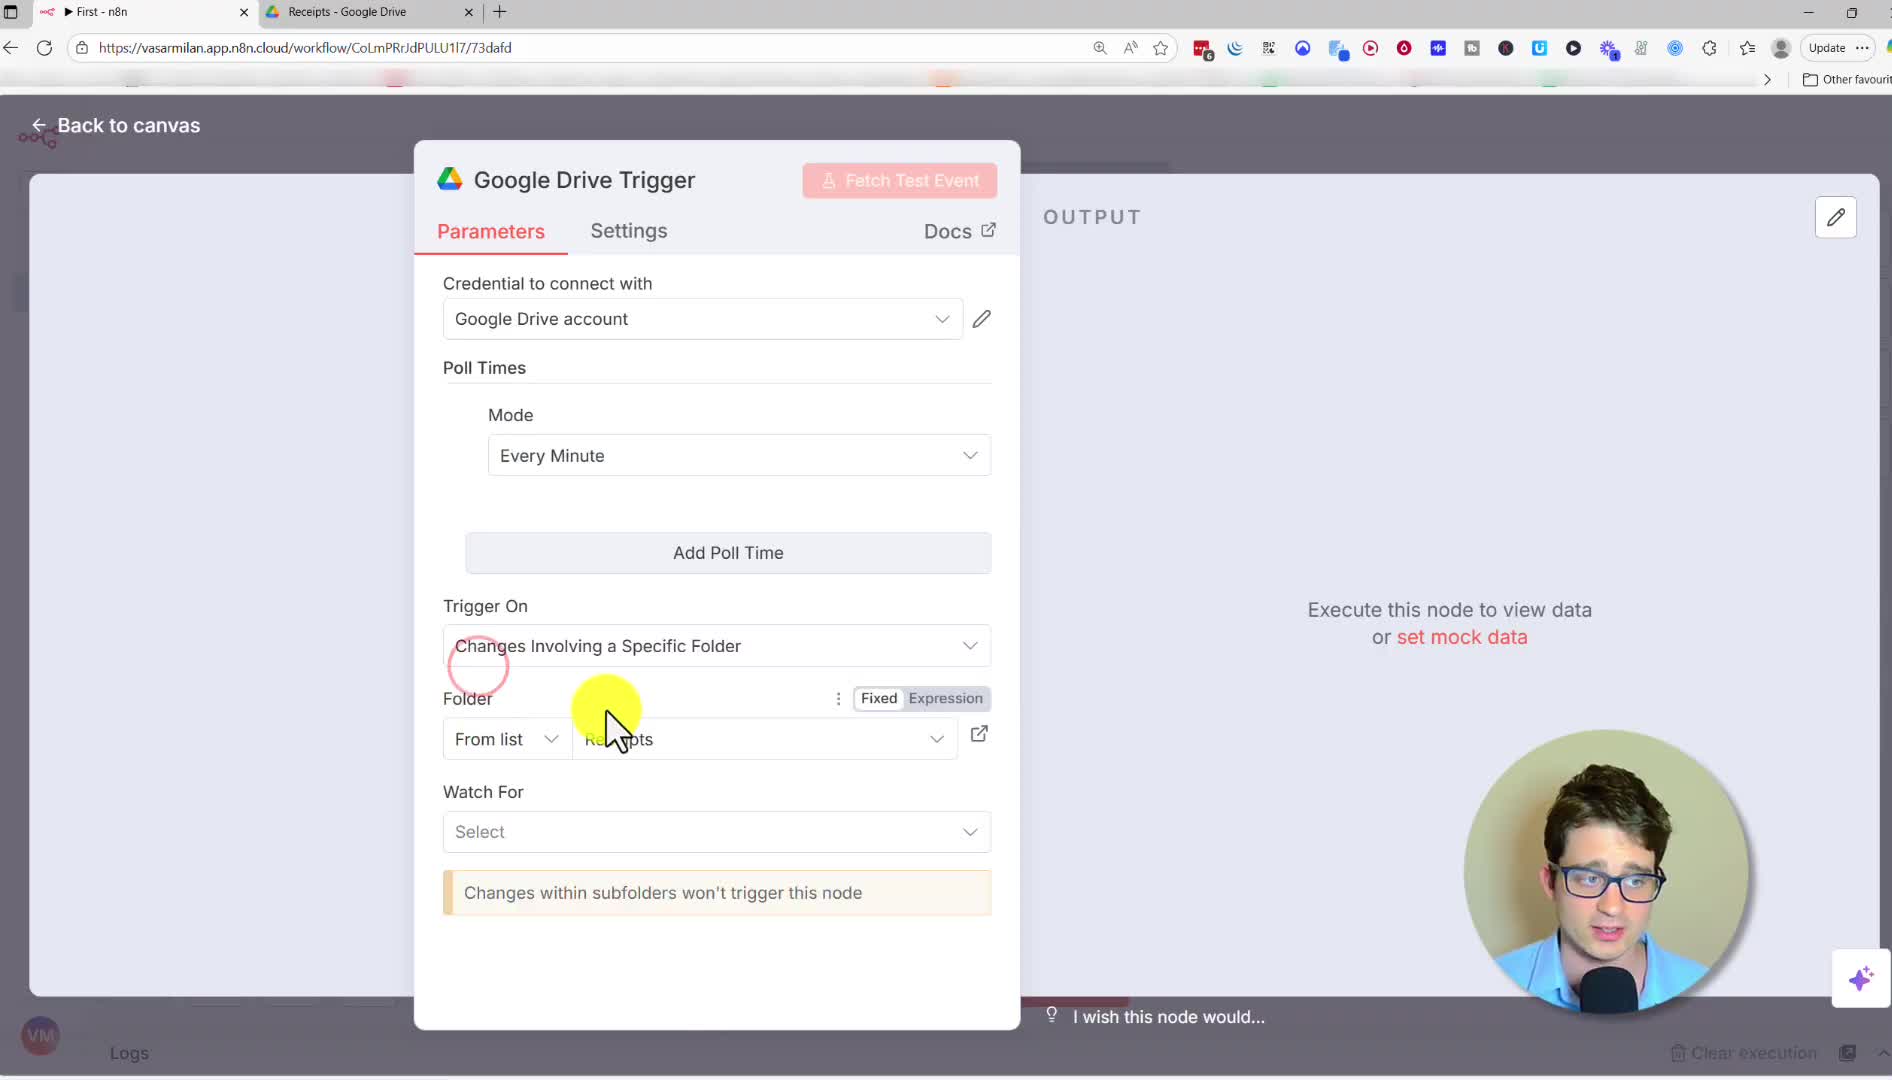
The workflow starts when a new file is added to Google Drive. We’ll use the Google Drive Trigger node for this.
1. Create a new workflow in n8n and add a Google Drive Trigger node.
2. Connect your Google Drive account.
3. Configure the trigger to watch a specific folder (e.g., “Receipts”).
4. Set the “Watch For” option to File Created. This ensures the workflow runs every time a new receipt is uploaded.
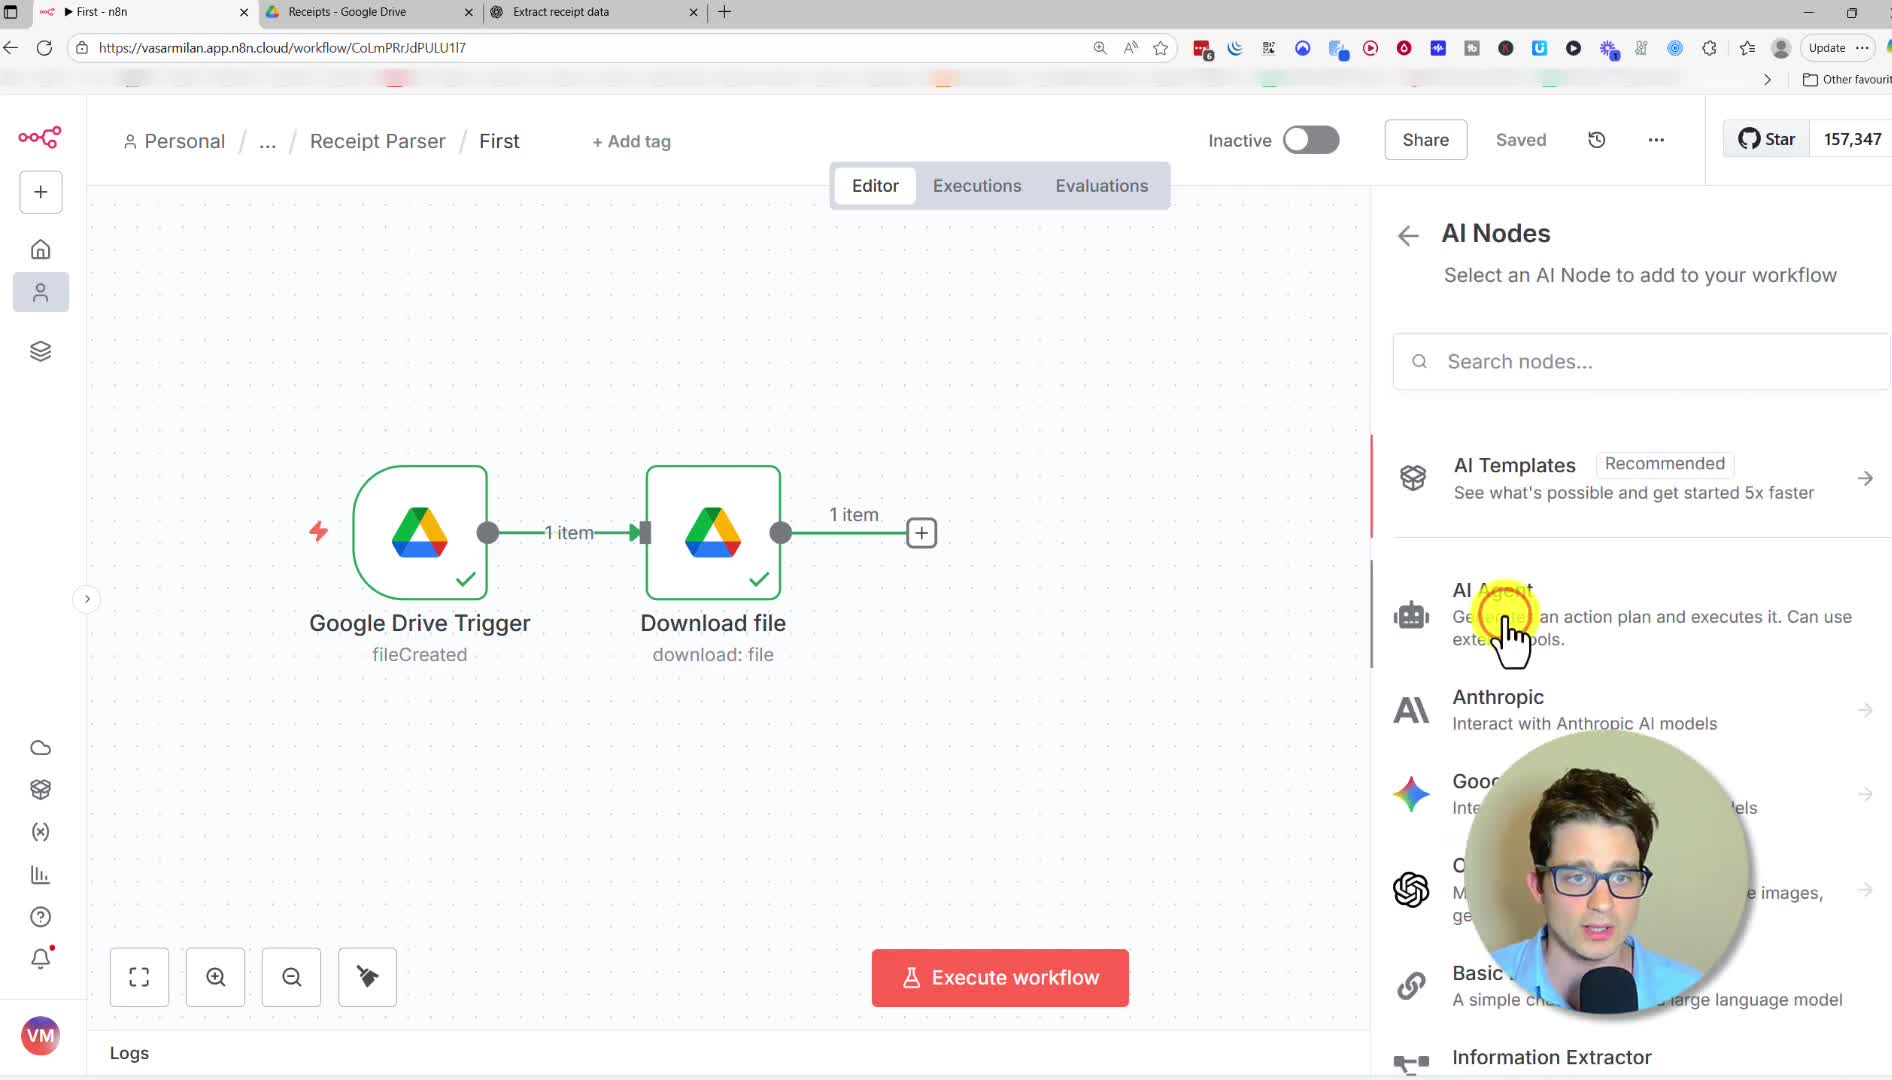
Next, add a Google Drive node with the “Download file” operation to make the receipt image accessible to our AI agent.
Step 2: Create the AI Data Extractor
This is the core of our automation where the magic happens. We’ll use an AI Agent node to process the image.
1. Add an AI Agent node.
2. In the prompt, instruct the AI to “Extract the data from the provided receipt image and format it into a strict JSON object.” Specify the schema you want, such as vendor, date, items, and total.
3. Enable the option to Automatically Passthrough Binary Images.
4. Connect an OpenAI Chat Model (or another model of your choice) to power the agent. We’re using gpt-4.1-mini for its speed and cost-effectiveness.
5. Add a Structured Output Parser to ensure the AI’s response always follows the JSON format you defined. You can provide an example of the desired JSON structure.
Step 3: Log the Data in Google Sheets
Once the data is extracted, we’ll save it to a spreadsheet.
1. Create a Google Sheet with columns matching your data (Vendor, Date, Items, Total).
2. Add a Google Sheets node in n8n and select the Append Row operation.
3. Connect to your spreadsheet using its ID from the URL.
4. Map the output fields from the AI Agent node to the corresponding columns in your sheet. You can easily drag and drop the data points.

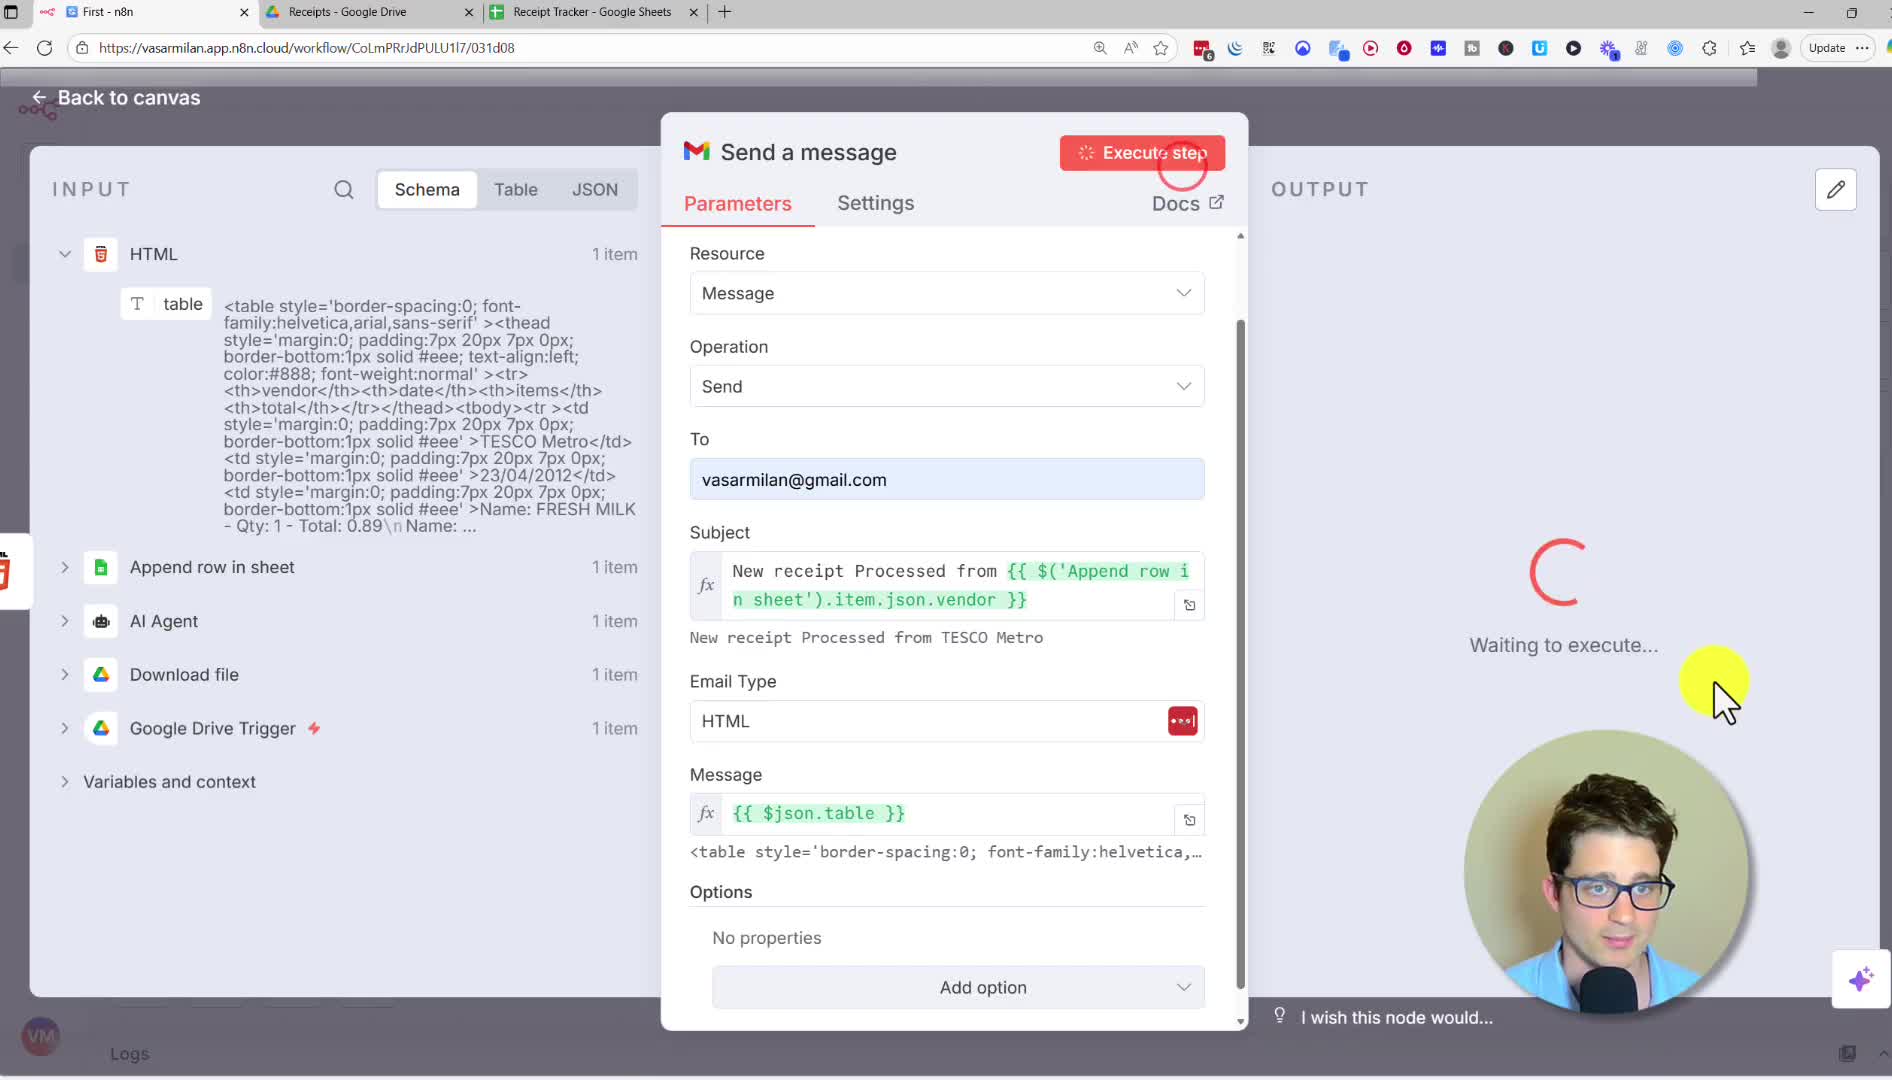
Step 4: Send an Email Notification
Finally, let’s create a notification to confirm the receipt has been processed.
1. Add an HTML node to format the data into a clean table for the email body. Use the “Convert to HTML Table” operation.
2. Add a Gmail node and select the Send a message operation.
3. Set the recipient email address.
4. Create a dynamic subject line, for example, “New receipt Processed from {{ $json.vendor }}“.
5. Use the output from the HTML node as the message body.
Automate Your Business
And that’s it! You now have a fully automated receipt processing system. This is just one example of how AI and automation can streamline your business operations, free up your time, and allow you to focus on more valuable tasks. Think about what other repetitive processes in your business could be automated.