n8n Workflows
- Send a daily email report of new Airtable contacts via Gmail (JSON Direct Link | n8n template link)
- Enrich company records with AI research in Airtable using OpenAI (JSON Direct Link | n8n template link)
- Query Airtable data with an AI chat agent (JSON Direct Link | n8n template link)
- Query Airtable data from ChatGPT using an MCP server (JSON Direct Link | n8n template link)
Video
Video Summary
In this guide, we’ll walk you through how to build everything from basic to advanced AI automations, agents, and MCP servers on top of your Airtable data—all without writing a single line of code, using the powerful workflow automation tool n8n. We will cover three practical examples: a daily email report, an AI-powered company researcher, and an AI agent you can chat with to query your data. Finally, we’ll show you how to connect these automations to external tools like ChatGPT.
How to Set Up Your Airtable Connection in n8n
First, we need to establish a connection between n8n and Airtable. This is done by adding a credential in n8n.
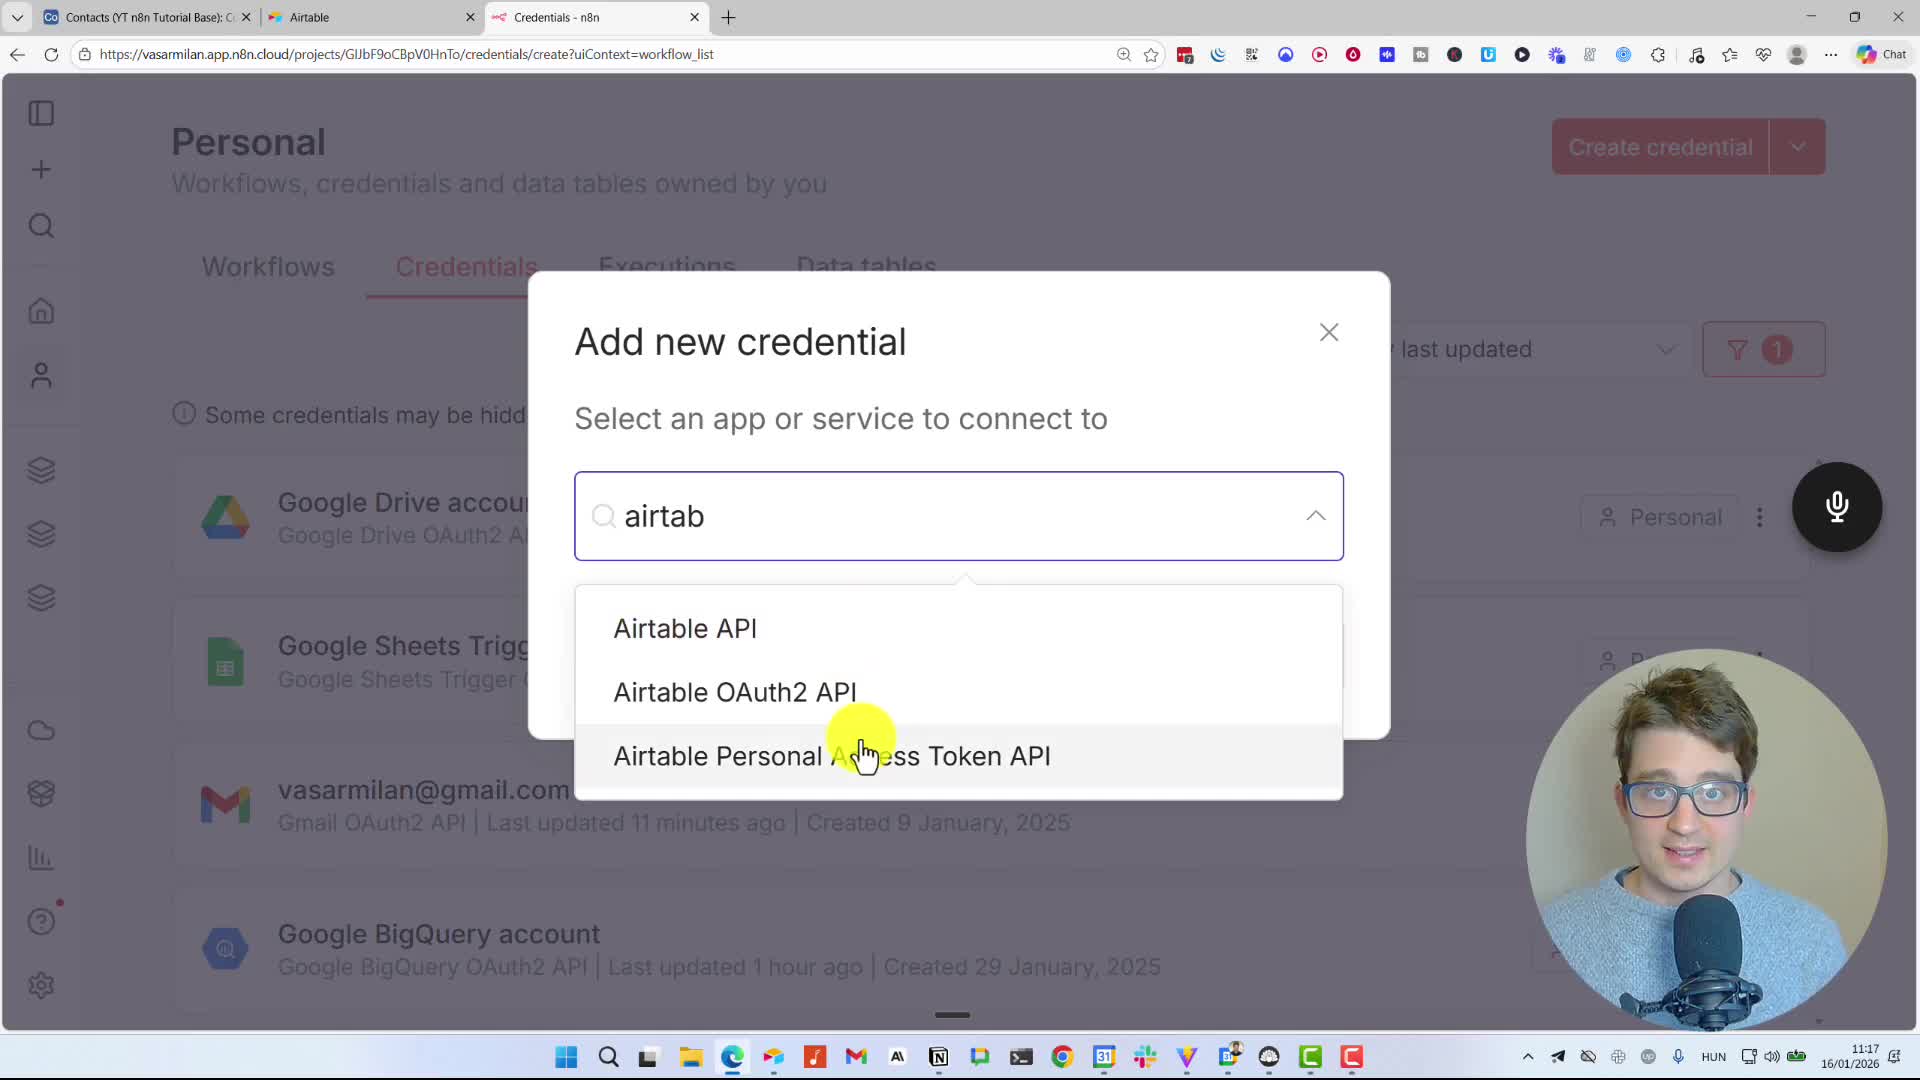
1. In your n8n dashboard, go to the Credentials tab or click the dropdown next to ‘Create workflow’ and select ‘Create credential’.
2. Search for ‘Airtable’ and make sure to select the Airtable Personal Access Token API option.
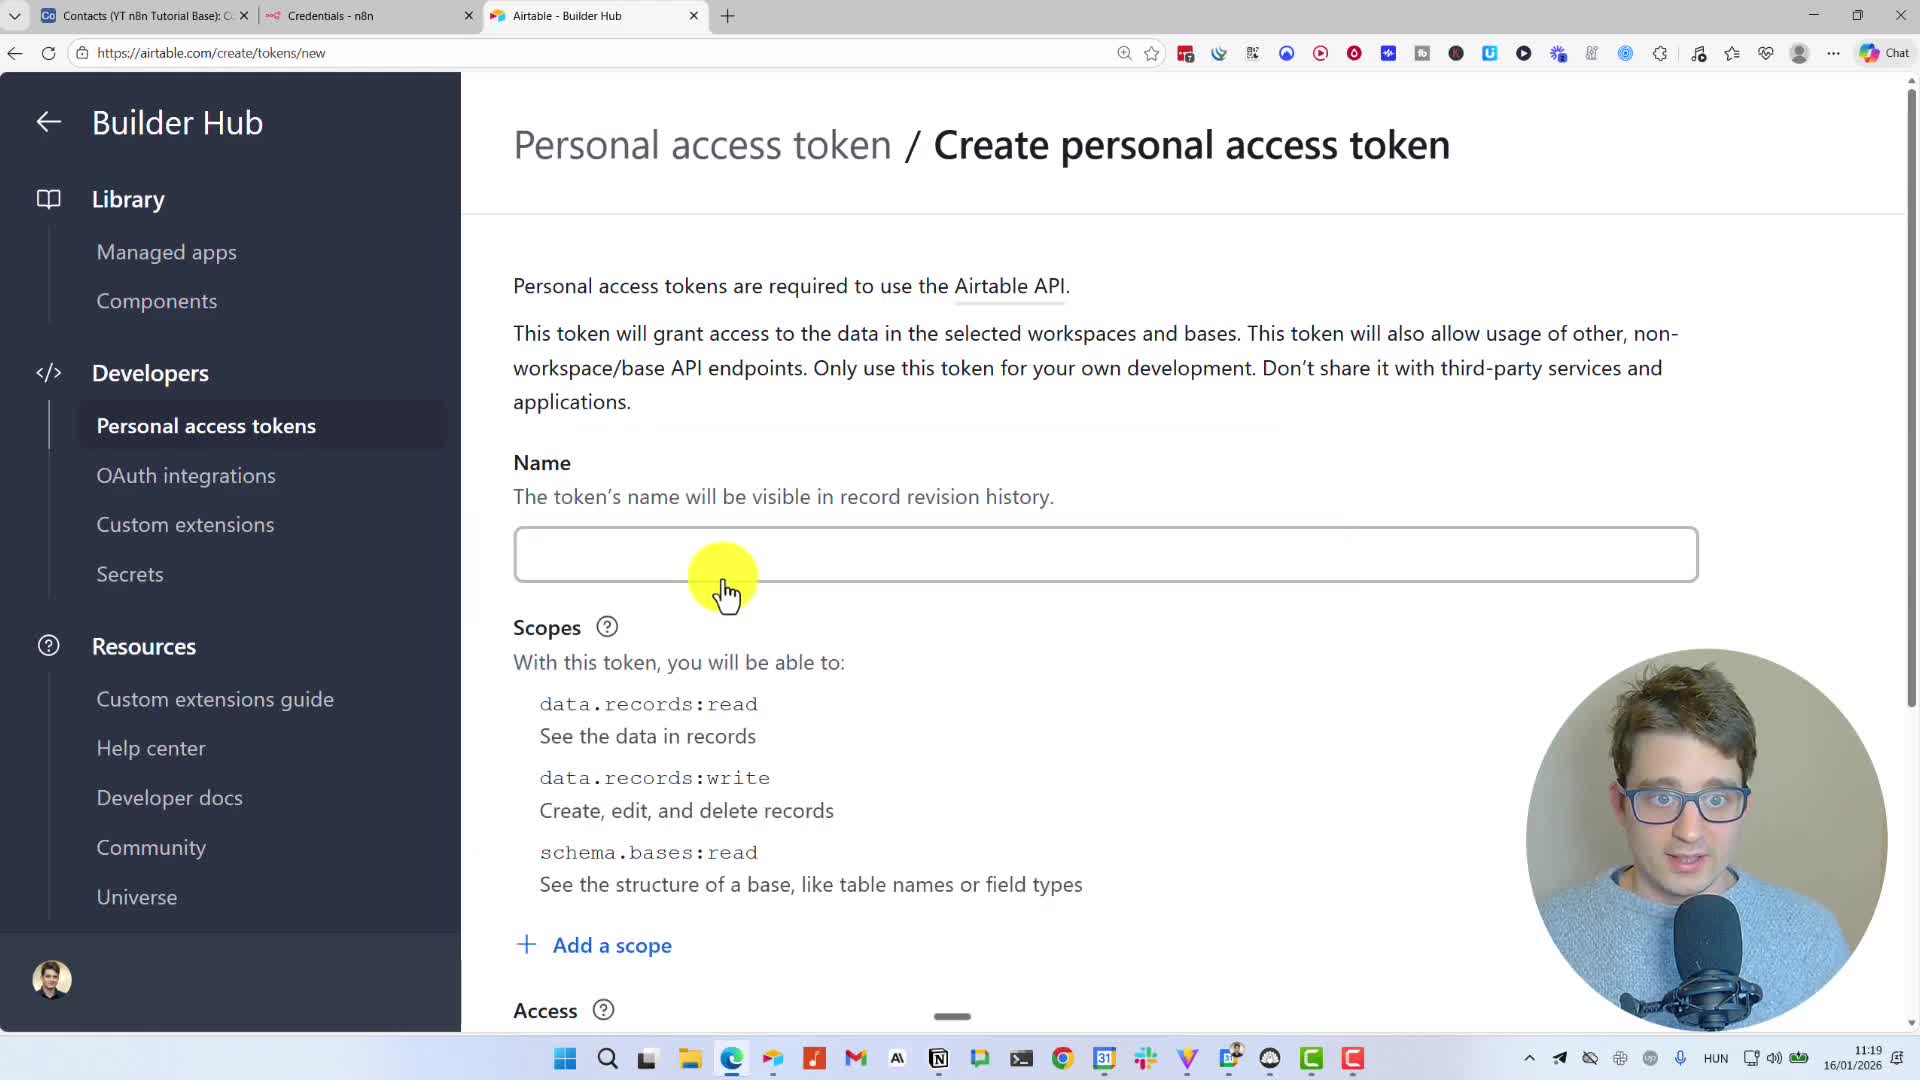
3. To get the access token, open a new browser tab and navigate to airtable.com/create/tokens. Click ‘Create token’.
4. Give your token a name. For Scopes, you’ll need to add three specific permissions for n8n to function correctly: data.records:read, data.records:write, and schema.bases:read.
5. For Access, you can choose to grant access to all resources or select specific bases.
6. Click ‘Create token’, copy the generated code, and paste it into the ‘Access Token’ field back in n8n. Save the credential, and n8n will test the connection.
Agent 1: Sending a Daily Email Report of New Airtable Contacts
Our first automation will generate and send a daily email report of new contacts added to our Airtable base.
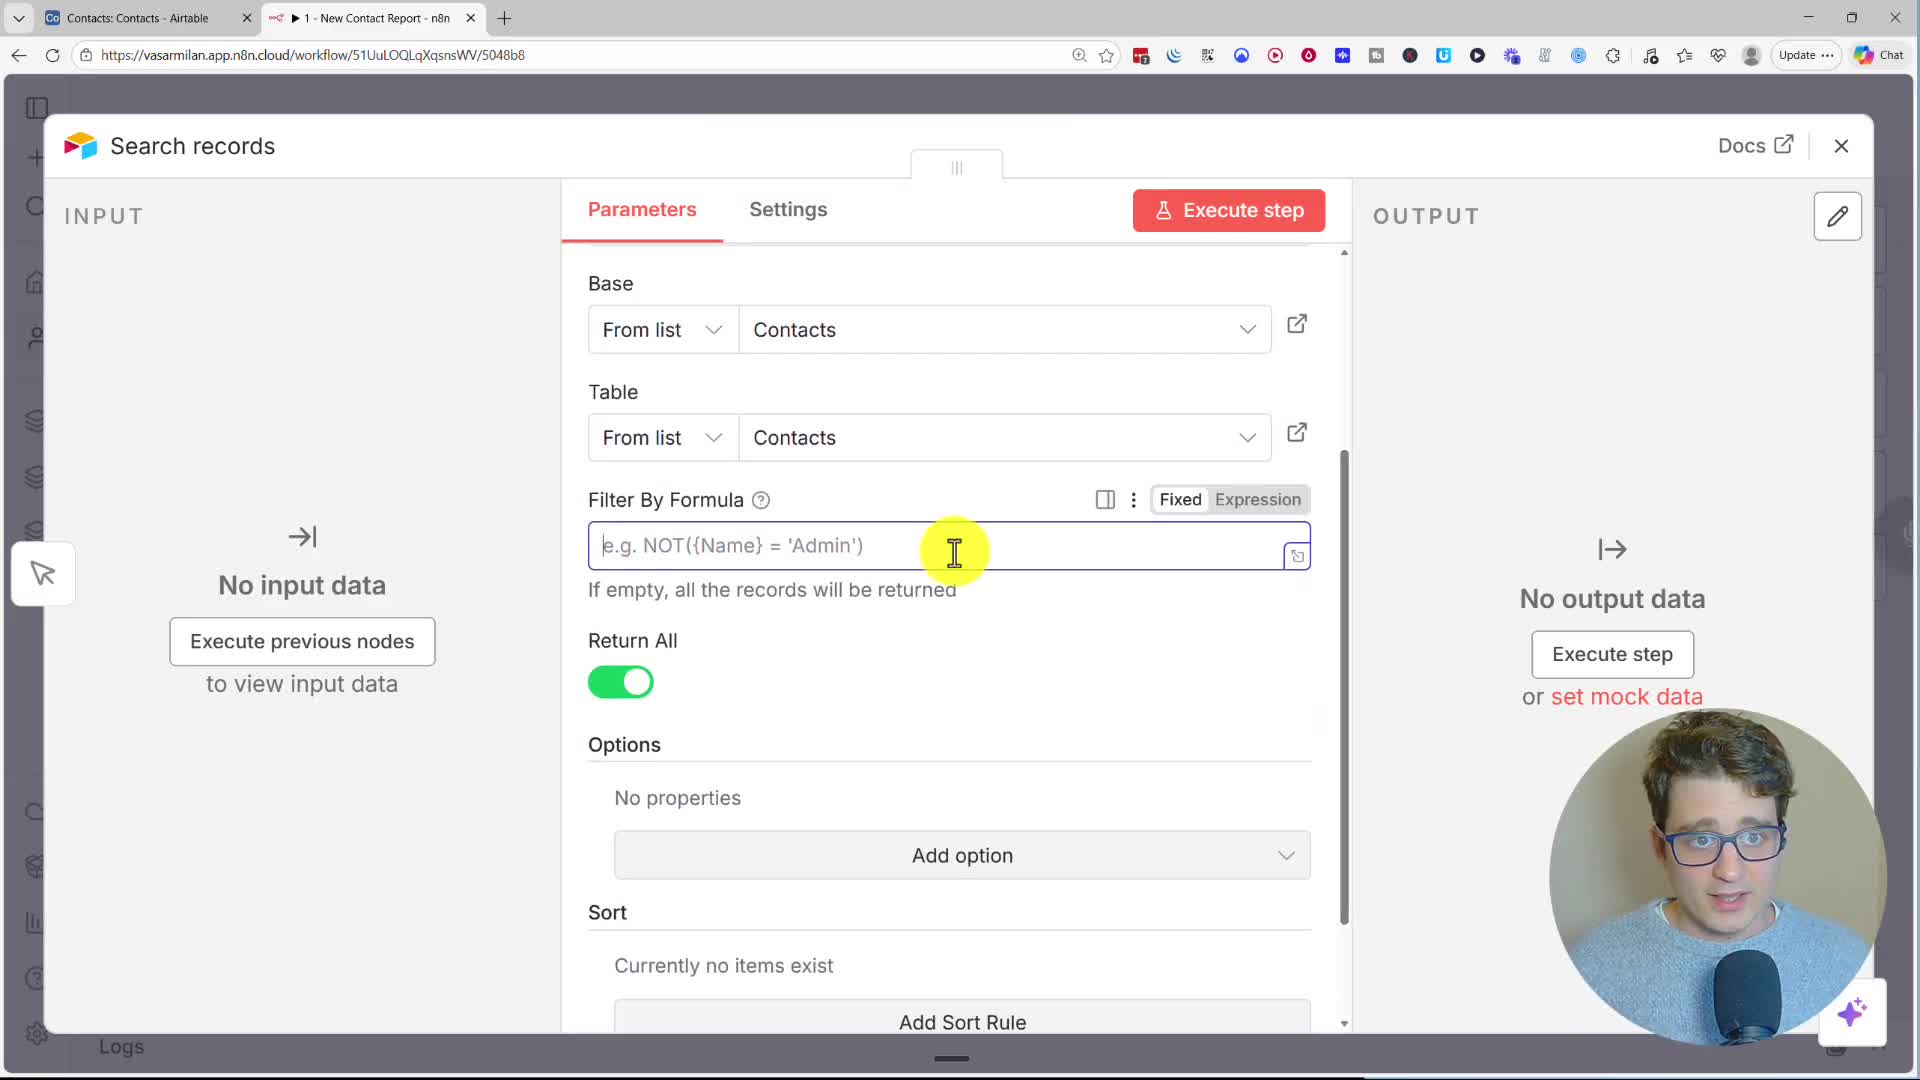
Step 1: Searching for New Records
Start with a new workflow in n8n. Add a step and search for the Airtable node. From the available actions, choose Search records. Select your base and the table you want to work with (e.g., ‘Contacts’). To find only today’s new records, use the ‘Filter By Formula’ field with the expression: IS_SAME({Created}, TODAY(), 'day'). To keep the data clean, go to ‘Options’ and select the specific ‘Output Fields’ you need, such as ‘Company Name’, ‘Name’, and ‘Email’.
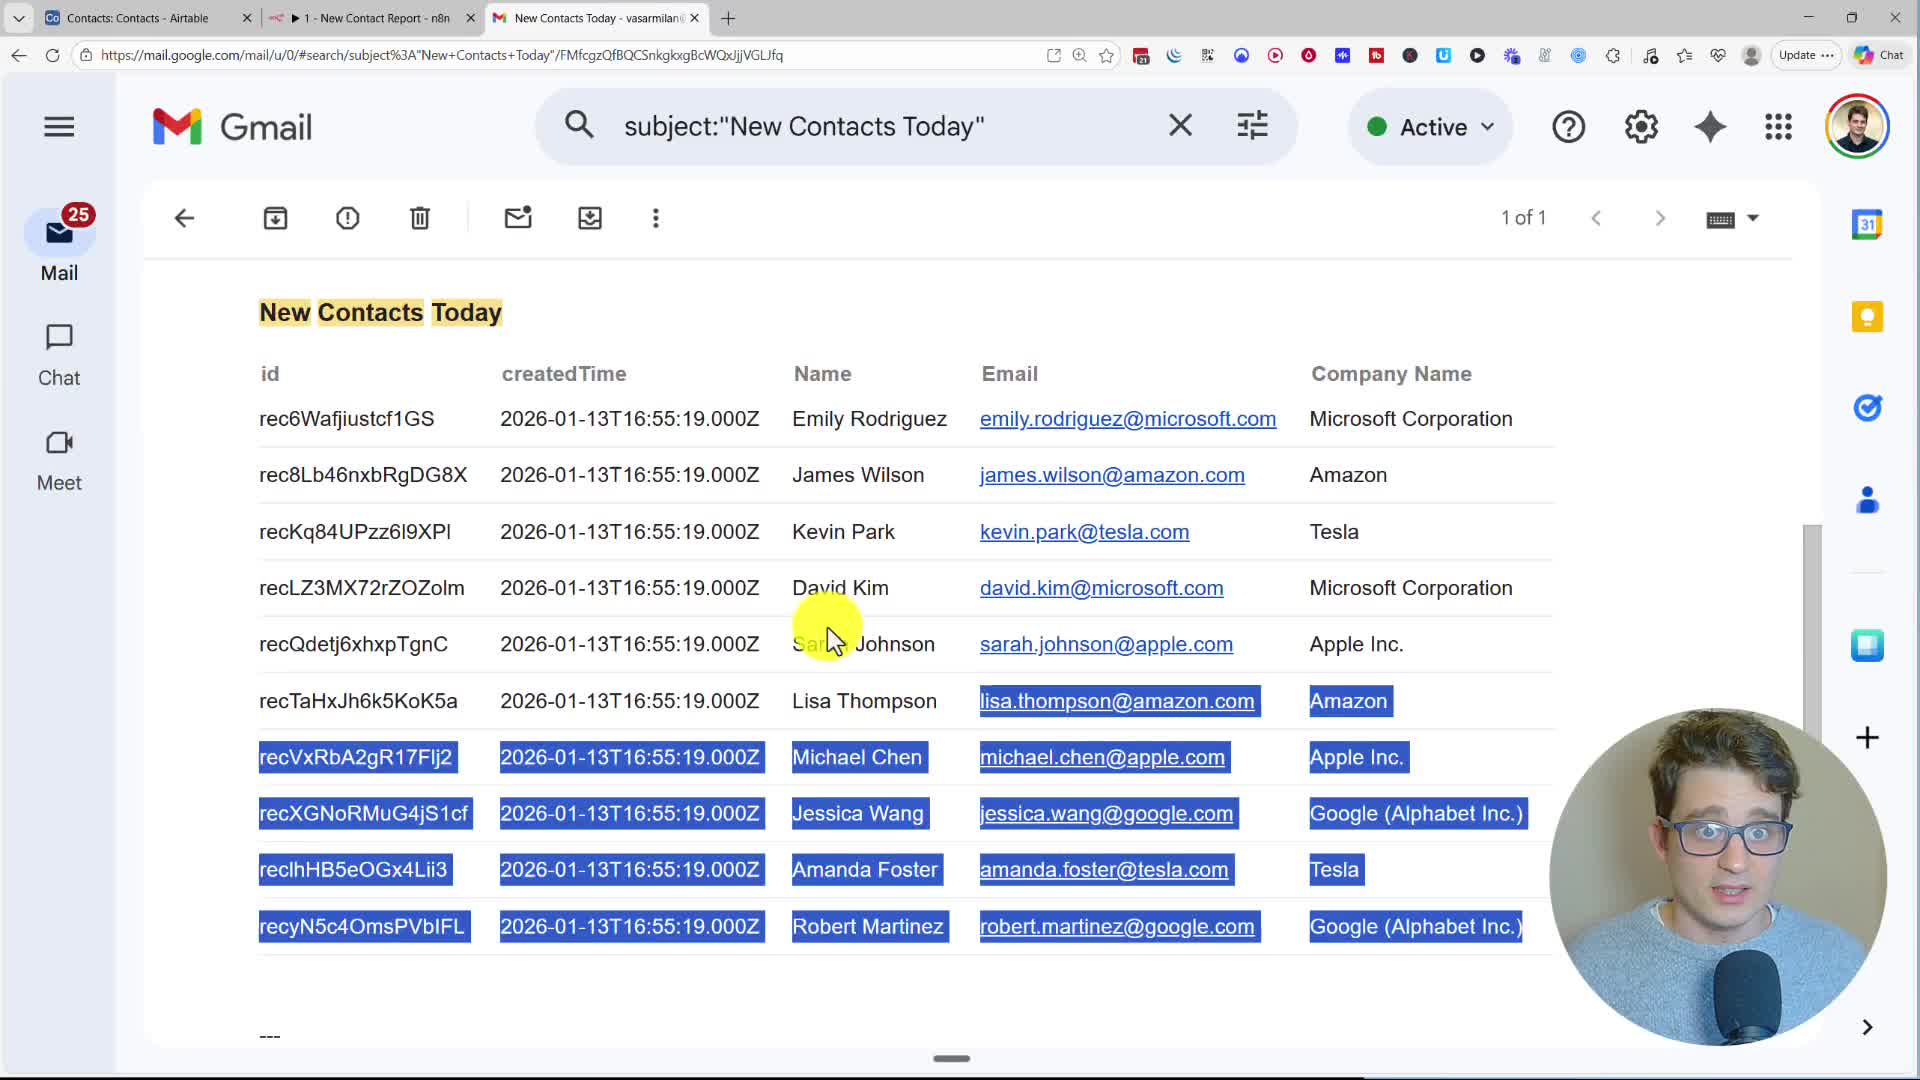
Step 2: Formatting the Data and Sending the Email
Next, add an HTML node and choose the ‘Convert to HTML Table’ action. This will format the data from Airtable into a clean table for our email. Finally, add a Gmail node (or your preferred email service) and select the ‘Send a message’ action. Set the ‘Email Type’ to ‘HTML’ and, for the message body, add a title and then drag and drop the {{ $json.table }} variable from the previous HTML node. This will embed the formatted table into your email.
Step 3: Scheduling the Automation
To make this run automatically, replace the manual trigger with a Schedule Trigger. You can set it to run daily at a specific time. Once configured, save and Publish the workflow to activate it.
Agent 2: AI Company Research Agent with an Airtable Trigger
This agent automatically researches a company’s website and details whenever a new company is added to your Airtable, then updates the record.
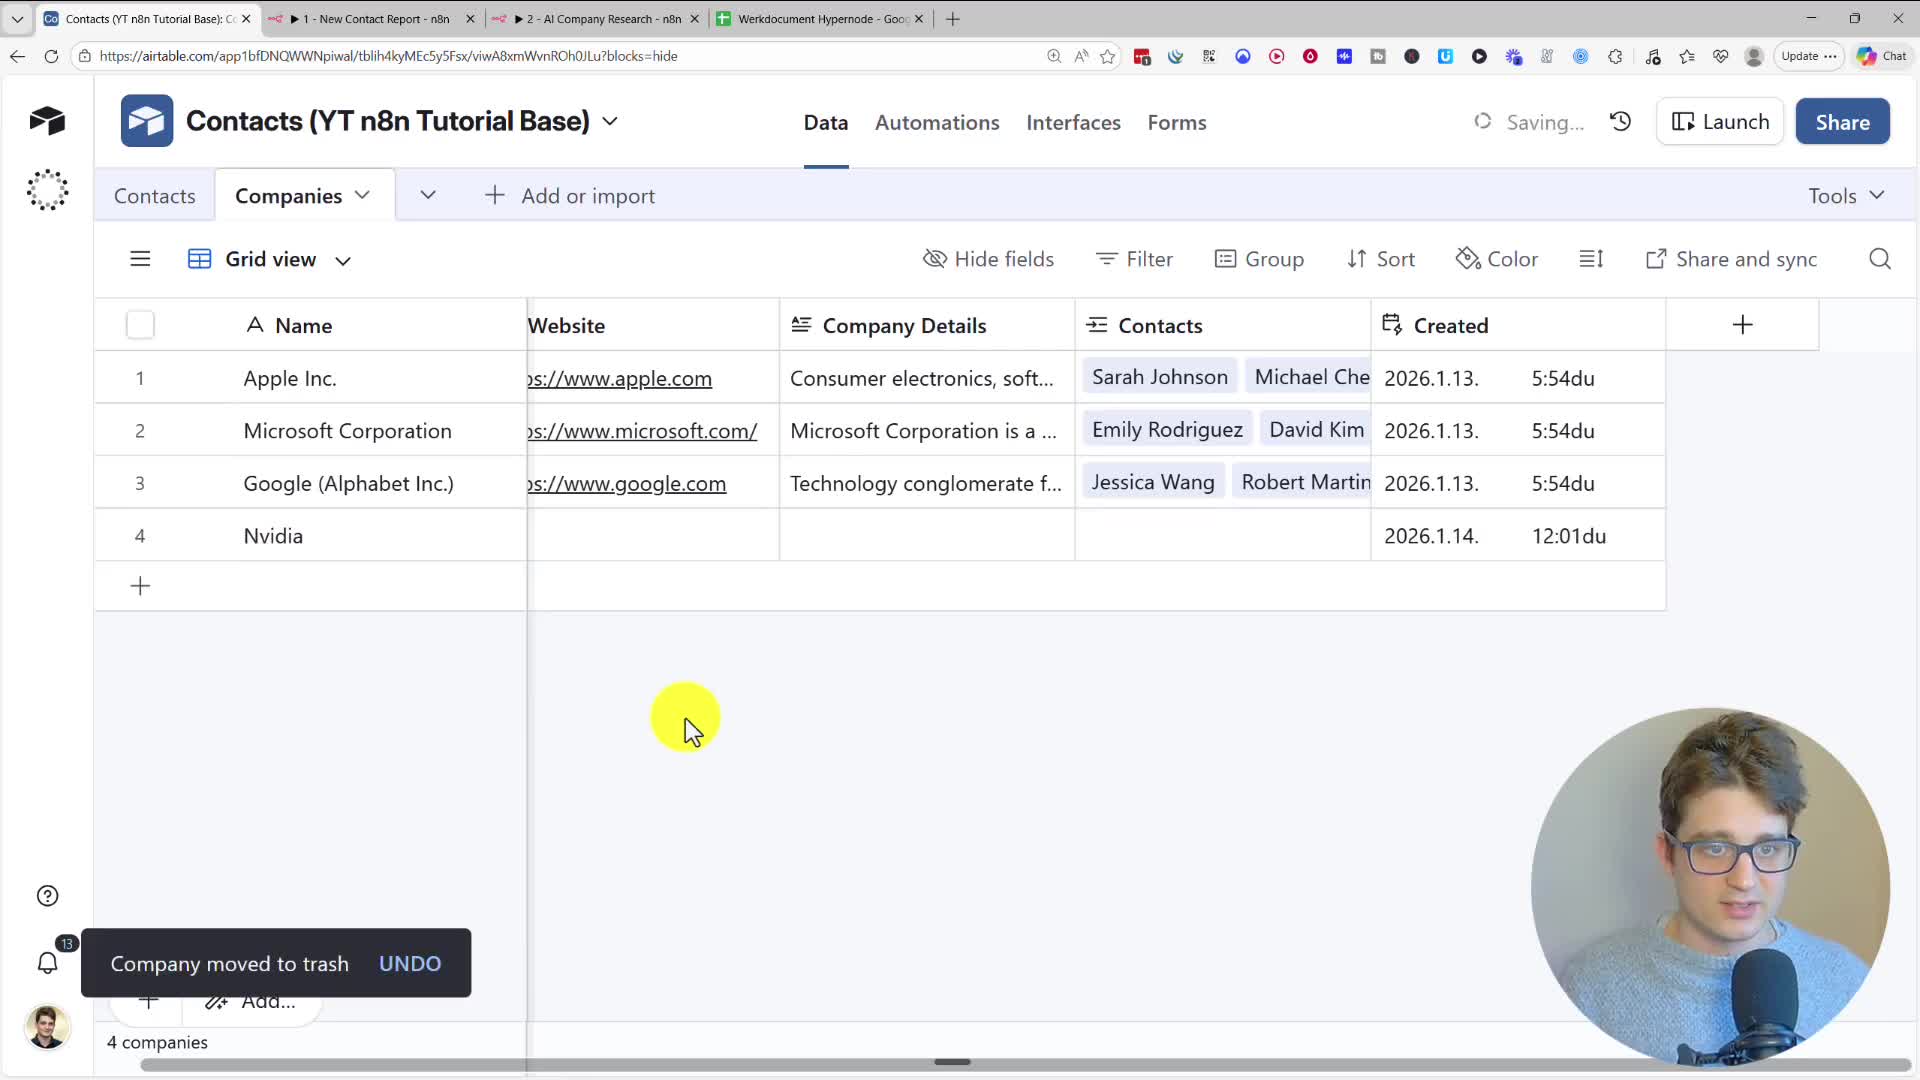
Step 1: Setting Up the Trigger
First, ensure your Airtable table has a ‘Created time’ field. In n8n, start your workflow with an Airtable Trigger. Since the dropdown isn’t available for triggers, copy the URL of your Airtable base and table directly from your browser and paste it into the ‘Base’ and ‘Table’ fields. Set the ‘Trigger Field’ to ‘Created’. This tells n8n to run the workflow whenever a new record is created.
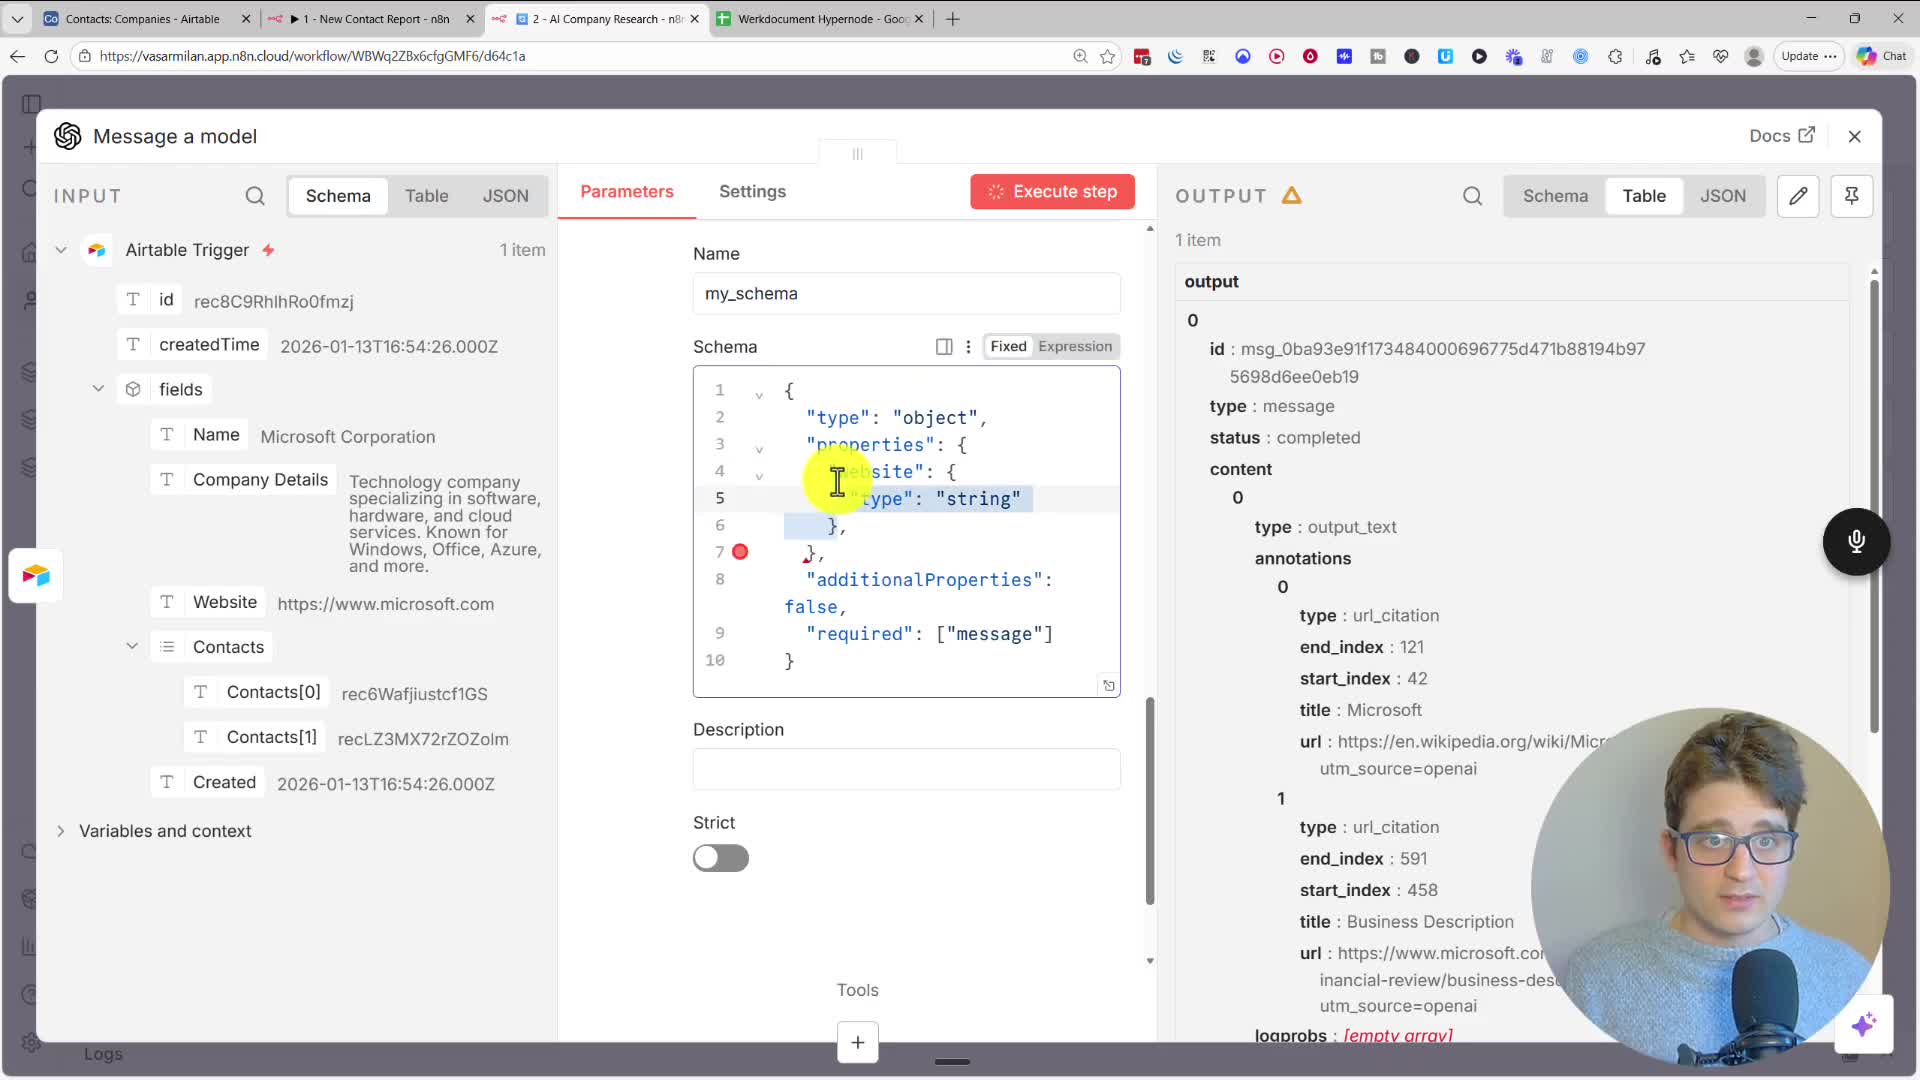
Step 2: Adding the AI Brain
Add an OpenAI node and select the ‘Message a model’ action. In the ‘Prompt’, write your instructions and drag the company name variable from the trigger output (e.g., Research the following company: {{ $json.fields.Name }}). To allow the AI to search online, add the ‘Web Search’ Built-in Tool. To ensure the output is structured, set ‘Output Format’ to ‘JSON Schema’ and define the properties you want, like website and summary.
Step 3: Updating the Airtable Record
Finally, add another Airtable node and choose the ‘Update record’ action. To specify which record to update, map the id from the initial trigger node. Then, map the website and summary outputs from the OpenAI node to their corresponding fields in your Airtable. Publish the workflow, and now, whenever you add a new company, the agent will automatically research and fill in the details.
Agent 3: Creating an AI Chat Agent for Your Airtable Data
Our most advanced agent is a chatbot that can understand natural language questions and query your Airtable data to find answers.
Step 1: Building the Agent
Start with an AI Agent node. This node requires three components: a chat model, memory, and tools.
– Chat Model: Connect an OpenAI Chat Model node to act as the agent’s brain.
– Memory: Connect a Simple Memory node to allow the agent to remember the context of the conversation.
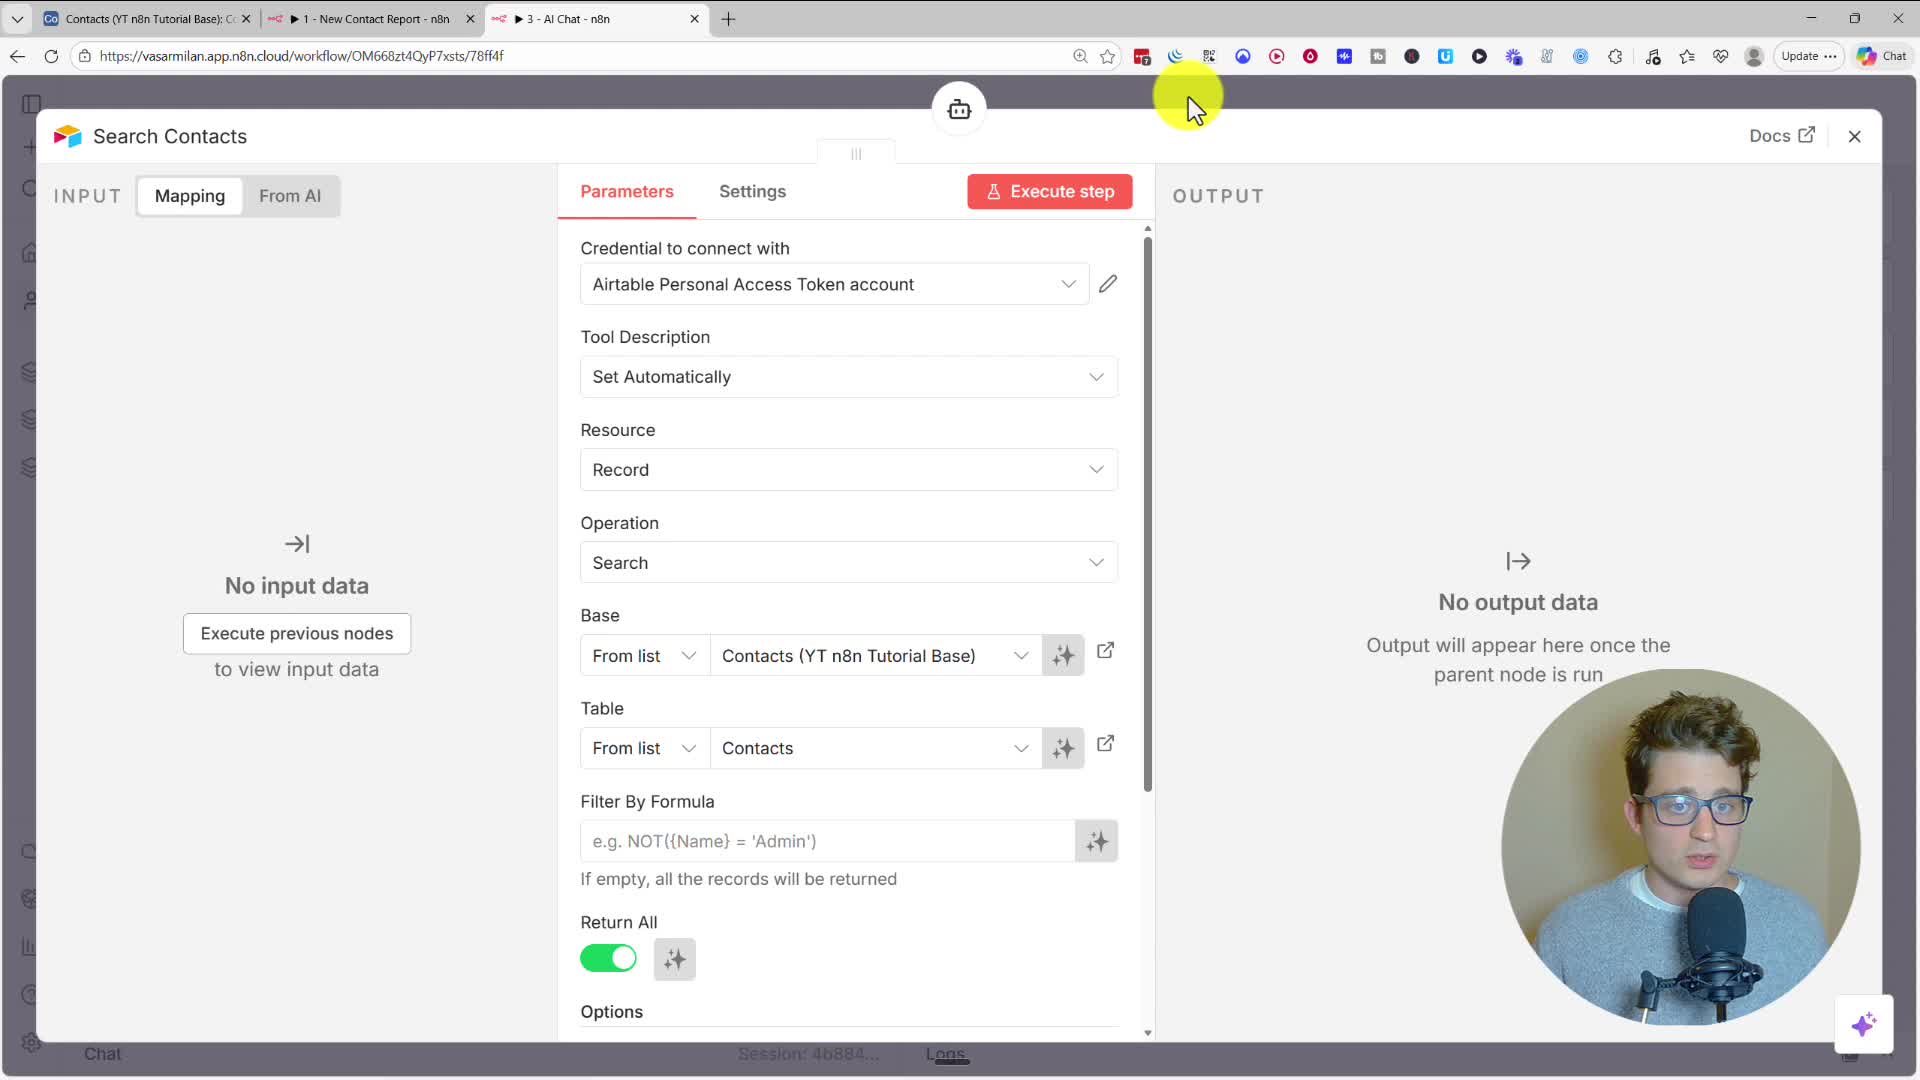
– Tools: The agent’s real power comes from its tools. Add an Airtable Tool and configure it to ‘Search’ records in your ‘Contacts’ table. You can give this tool a clear name like ‘Search Contacts’. Duplicate this tool to create another one for searching your ‘Companies’ table.
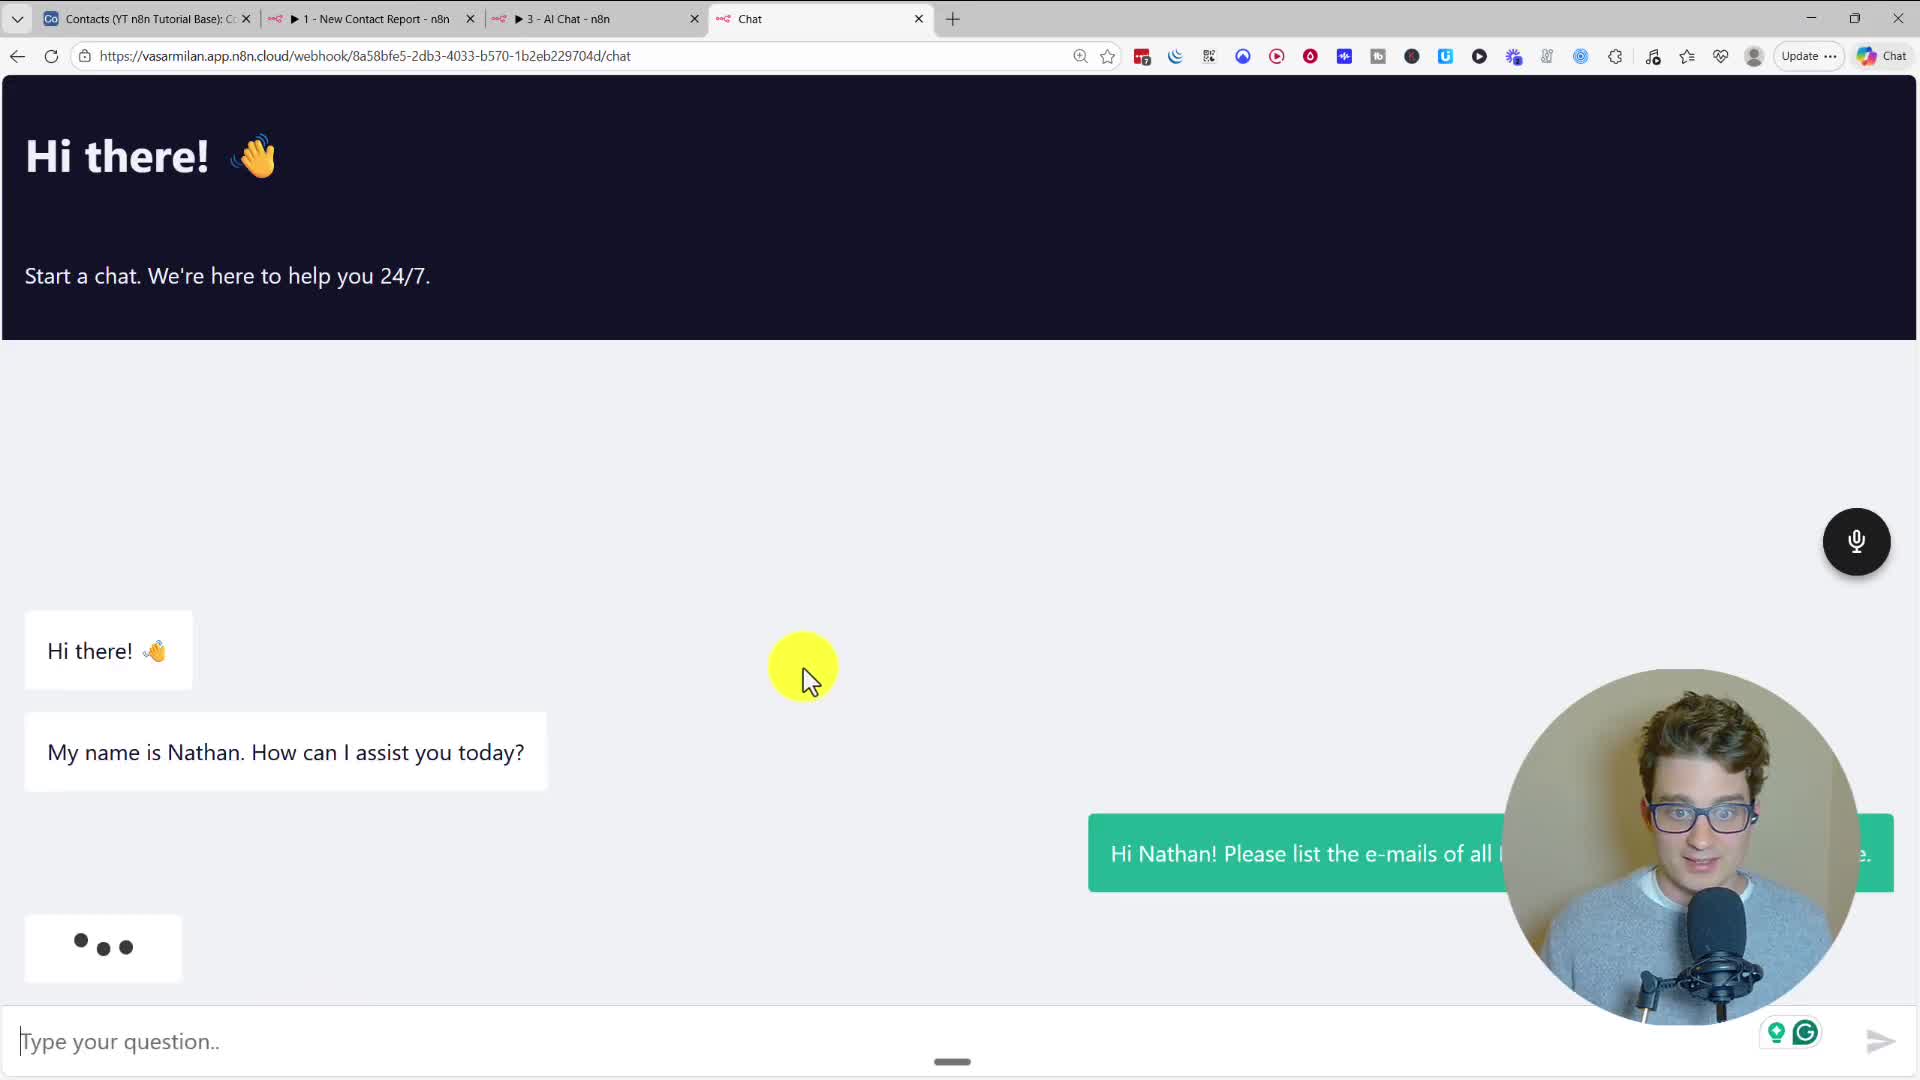
Step 2: Chatting with Your Data
With the agent set up, you can click ‘Open chat’ to test it. Ask a question like, “Please list the emails of all Microsoft employees in our database.” The agent will intelligently decide which tools to use (first searching companies to find Microsoft, then contacts to find employees) and return a concise answer based on your data.
How to Build an Airtable MCP Server
An MCP (Model-Client-Protocol) server exposes your AI tools as an API endpoint, allowing external applications like a custom GPT or a voice agent to access them.
Simply replace the chat trigger in your AI Agent workflow with an MCP Server Trigger. Connect your Airtable tools to this new trigger. Once you publish the workflow, the ‘Production URL’ in the trigger node becomes a live endpoint.
Connecting to ChatGPT
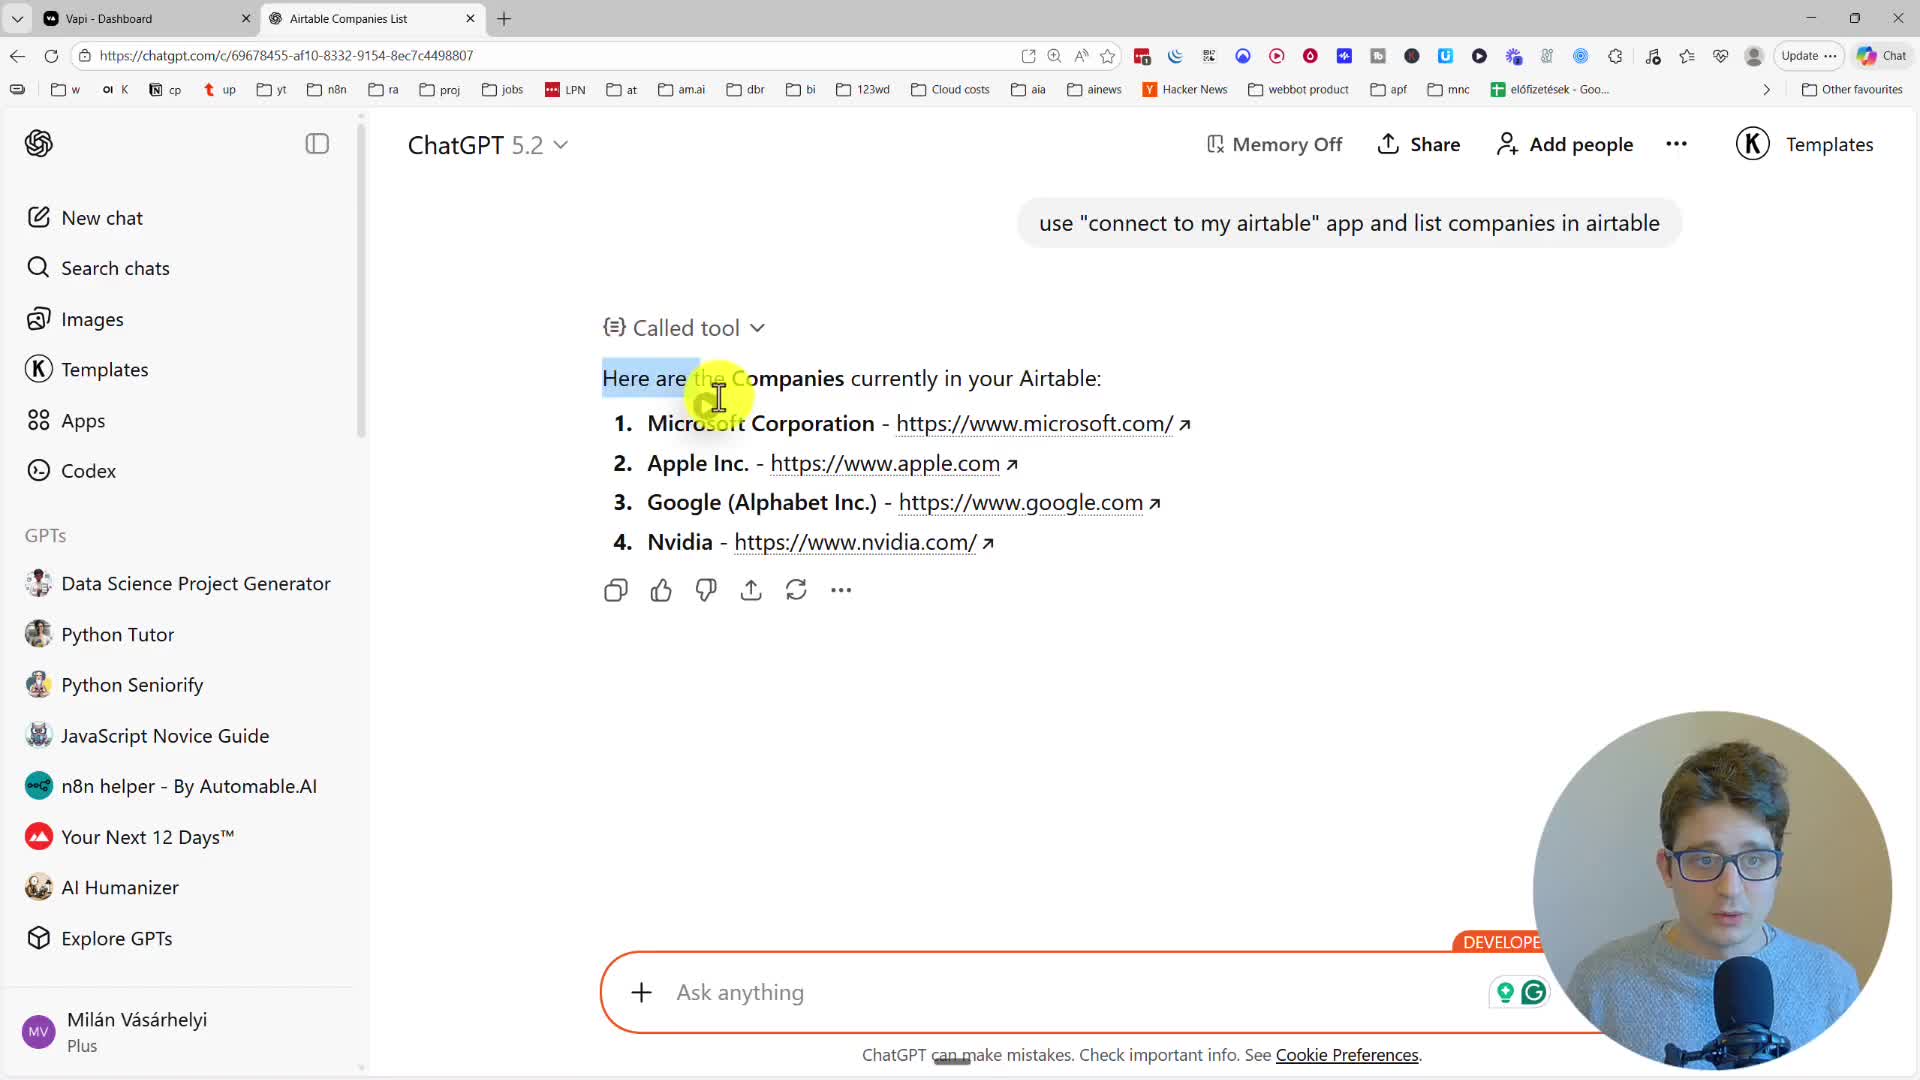
In ChatGPT, enable Developer Mode in your settings. Under ‘Apps’, you can create a new app. Give it a name and paste the MCP Server URL from n8n. Now, you can instruct ChatGPT to use this new app to query your Airtable. For example, a prompt like “use ‘connect to my airtable’ app and list companies in airtable” will make ChatGPT call your n8n server, use the Airtable tool, and return the data directly in your chat.
Conclusion
You’ve now seen how to create powerful, no-code AI automations for your Airtable data using n8n. From simple daily reports to interactive chat agents and even external integrations with ChatGPT, the possibilities are vast. All the workflows built in this guide are available as free templates in the description below.