n8n Workflows
- Sync leads from Google Sheets to HubSpot (JSON Direct Link | n8n template link)
- Manage HubSpot contacts through conversational AI chat (JSON Direct Link | n8n template link)
Video
Video Summary
n8n is a powerful tool for building AI automations on top of HubSpot, allowing you to integrate it with practically any other service. This guide will walk you through two key automations you can build without any code. By the end, you will know how to:
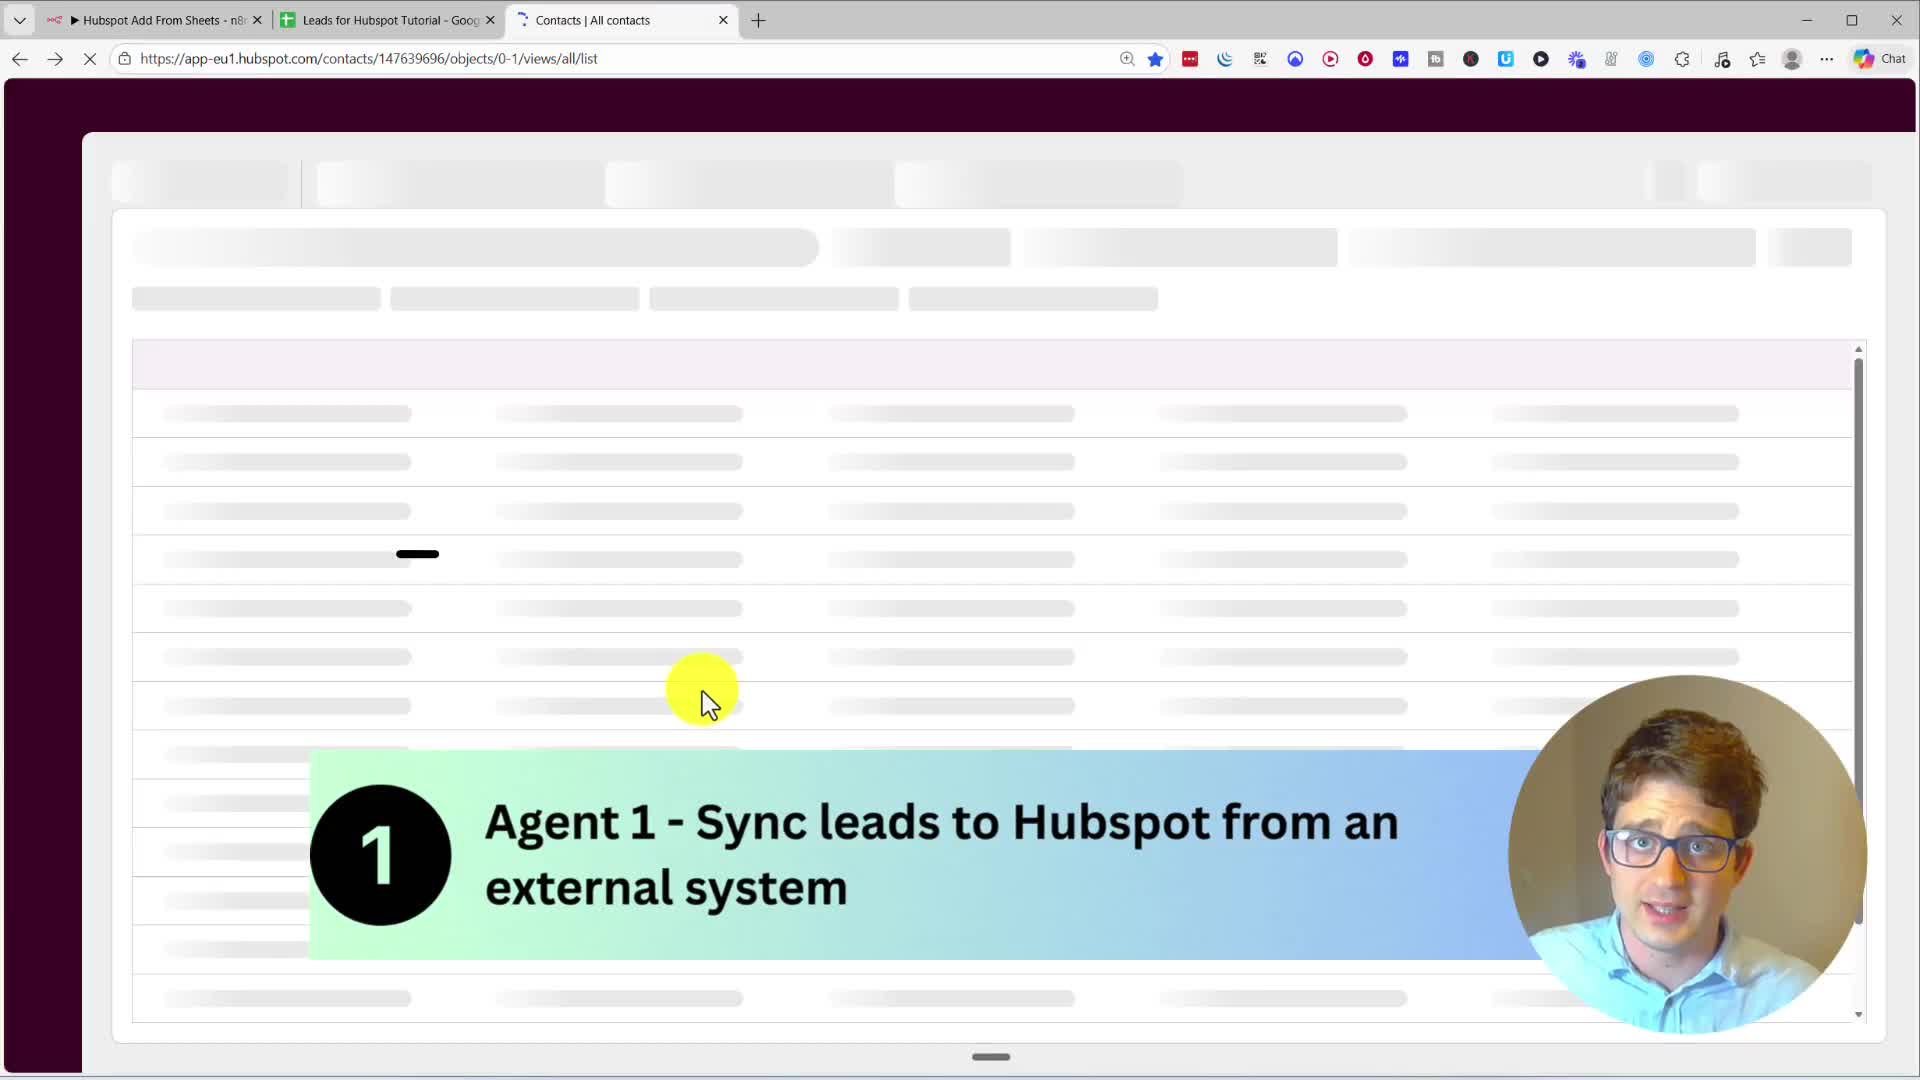
1. Automatically import leads from an external system, like Google Sheets, directly into your HubSpot account.
2. Build a conversational AI assistant that can access and even edit your HubSpot data through simple chat commands.
How to Set Up Your HubSpot Credentials
Before we can start automating, we need to connect n8n to HubSpot. This requires creating credentials through HubSpot’s developer platform.
Creating a Private App in HubSpot
First, navigate to developers.hubspot.com and create a developer account, which you can do with your existing HubSpot login. From the developer dashboard, find Legacy Apps on the left-hand menu. For an internal automation like this, the simplest solution is to create a new private app.
You’ll need to give your app a name and then move to the Scopes tab. Scopes define the specific permissions your app has. For the automations in this tutorial, you’ll need to add the following scopes to allow both reading and writing permissions for contacts and companies:
crm.objects.contacts.read
crm.objects.contacts.write
crm.objects.companies.read
crm.objects.companies.write
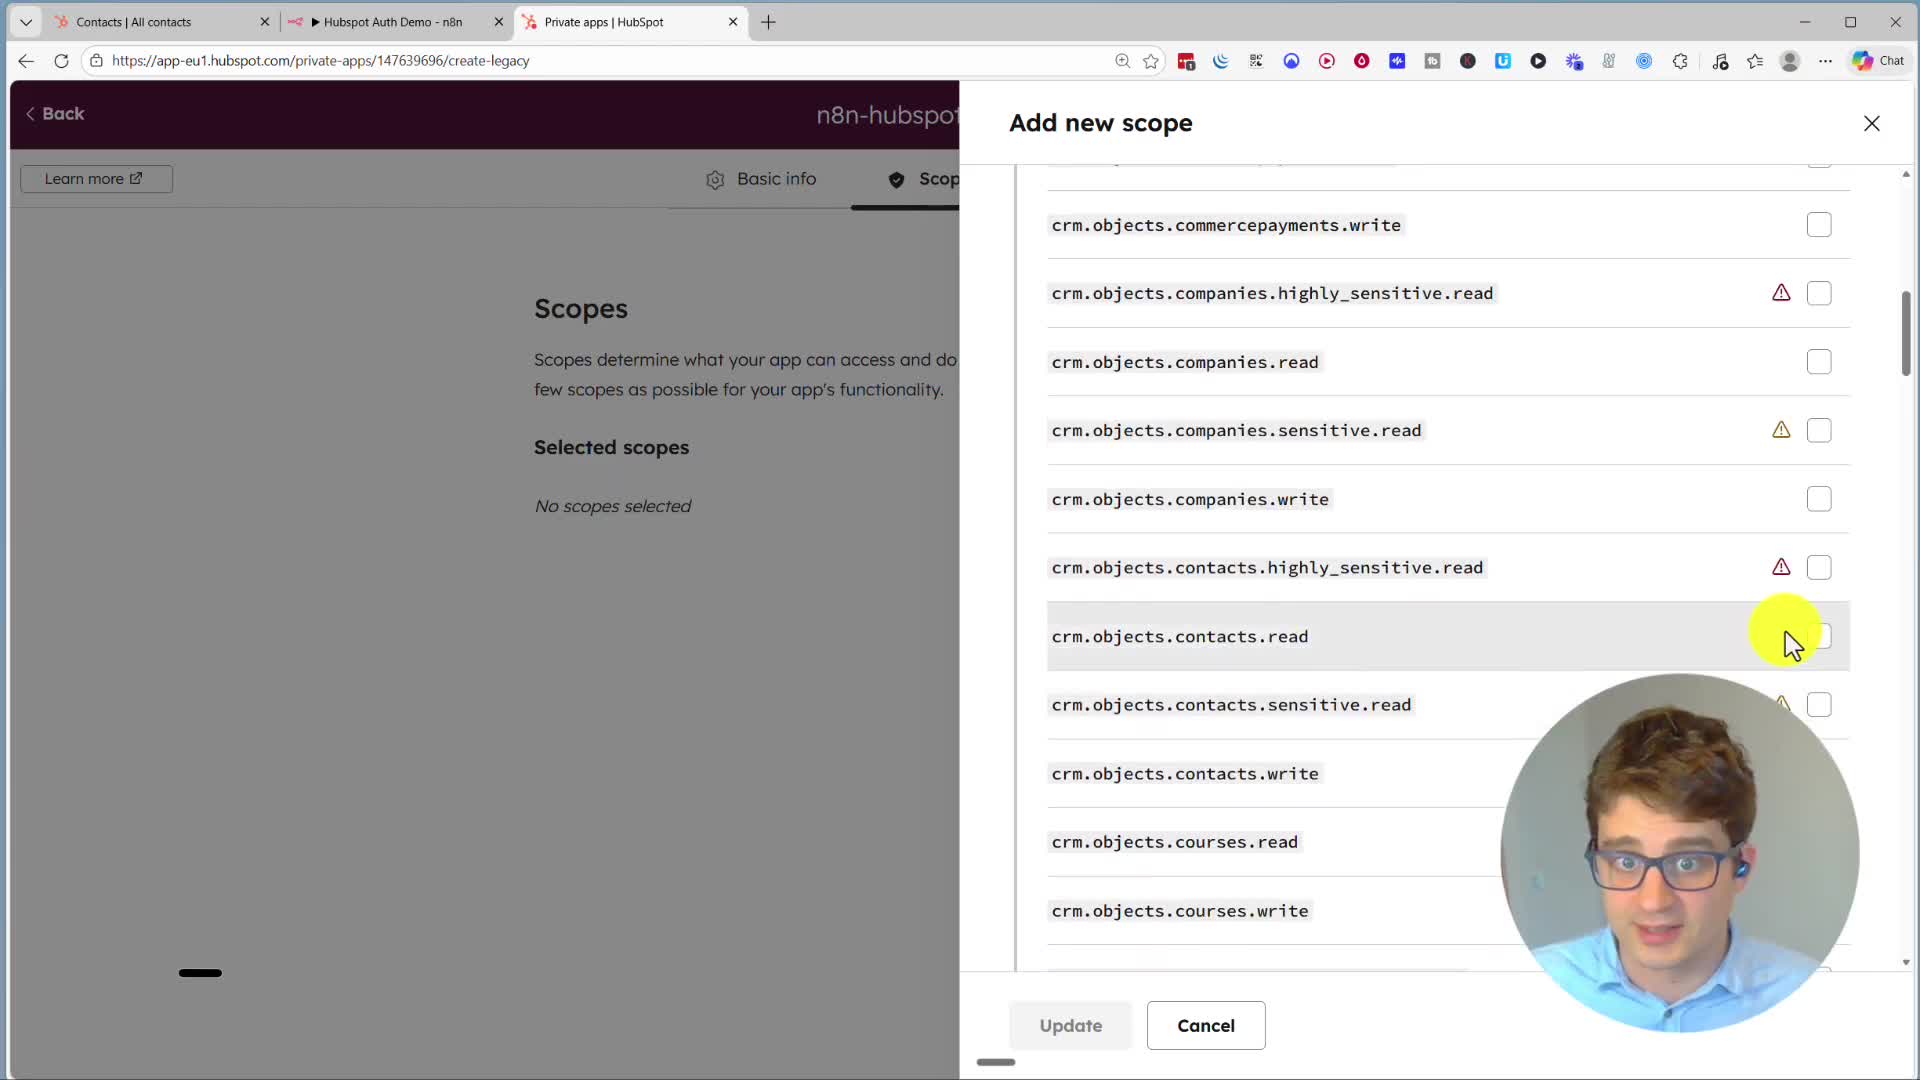
Once the scopes are set, click Create app.
Connecting to n8n
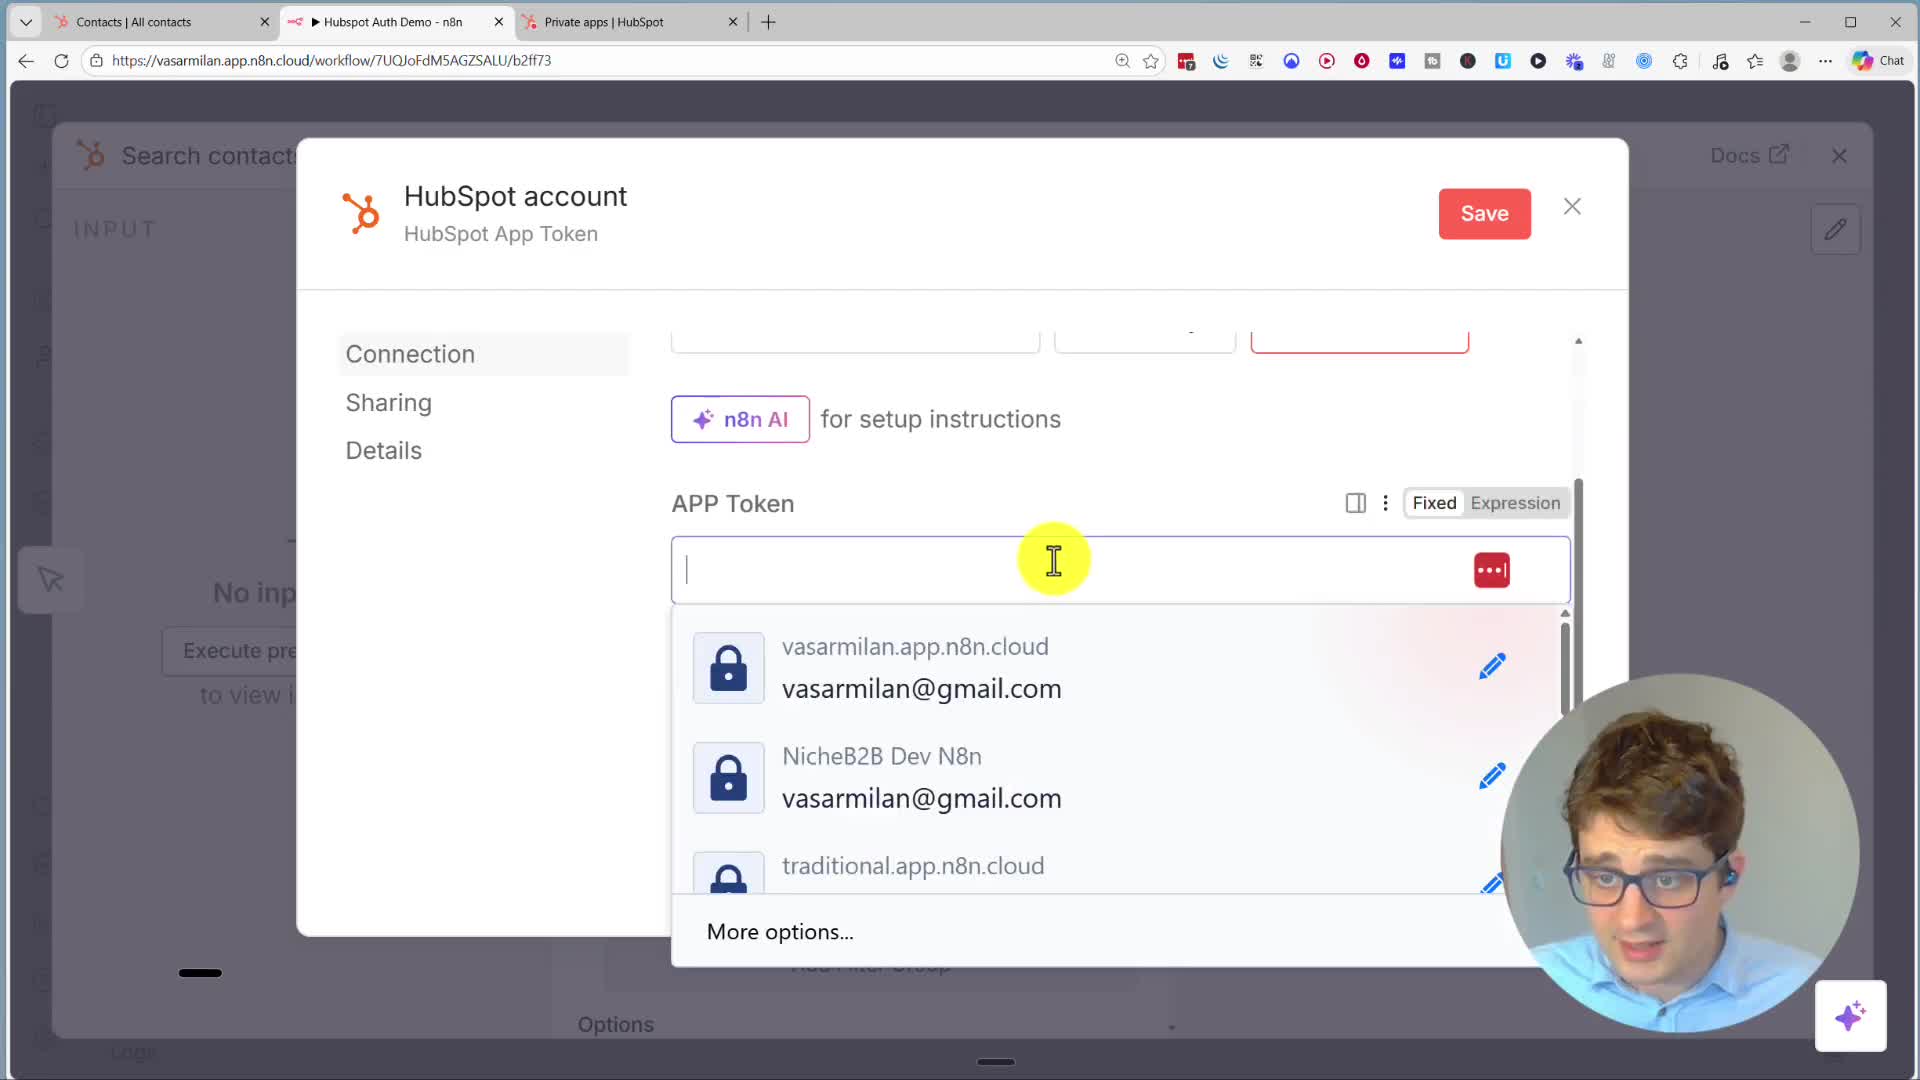
In your new app’s dashboard, go to the Auth tab. Here, you can reveal and copy your Access token. This is the key you need for n8n.
Back in your n8n workflow, when adding a HubSpot node, you’ll be prompted to create a new credential. Choose APP Token as the connection method, paste the token you just copied from HubSpot, and save. Your connection is now ready!
Agent 1: Sync Leads from Google Sheets to HubSpot
Our first automation will automatically import new leads from a Google Sheet into HubSpot. This is great for handling data from external forms or other sources.
Reading Data from Google Sheets
Start a new workflow and add a Google Sheets node. Set the operation to Get row(s) in sheet. After connecting your Google account, select the specific document and sheet that contains your lead data. Execute the node to confirm that n8n is successfully reading the contact information.
Creating or Updating Contacts in HubSpot
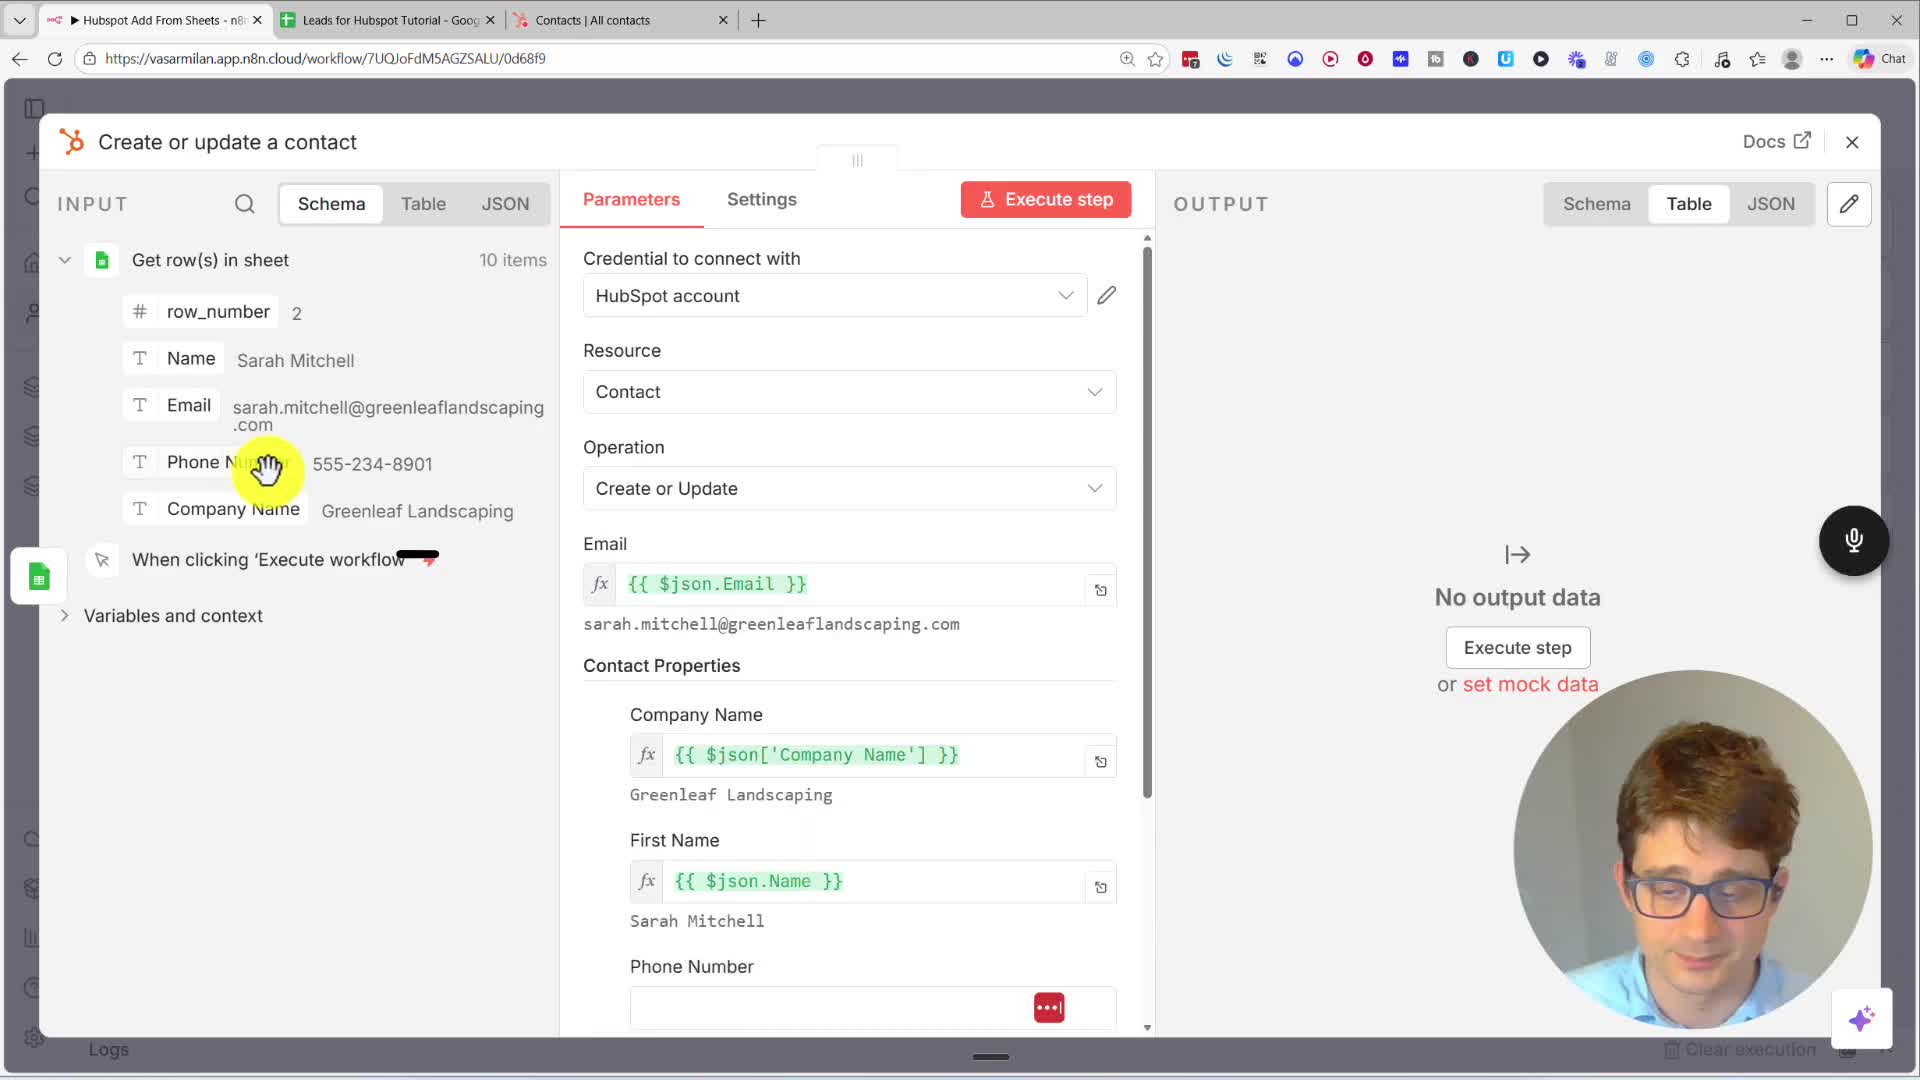
Next, add a HubSpot node to your workflow. Choose the Create or update a contact action. This action is useful because it prevents creating duplicate entries by updating existing contacts if they already exist based on their email.
Now, you need to map the data from your Google Sheet to the corresponding fields in HubSpot. Drag the Email value from the input data (left side) to the Email field in the HubSpot node. Do the same for other properties like Company Name, First Name, and Phone Number.
Once the mapping is complete, execute the workflow. You can then check your HubSpot account to see that all the new contacts from the spreadsheet have been successfully imported.
Agent 2: Build a Conversational AI Agent for HubSpot
Our second project is an AI agent that you can chat with to perform actions in HubSpot, such as adding or searching for contacts.
Building the Agent's Core Components
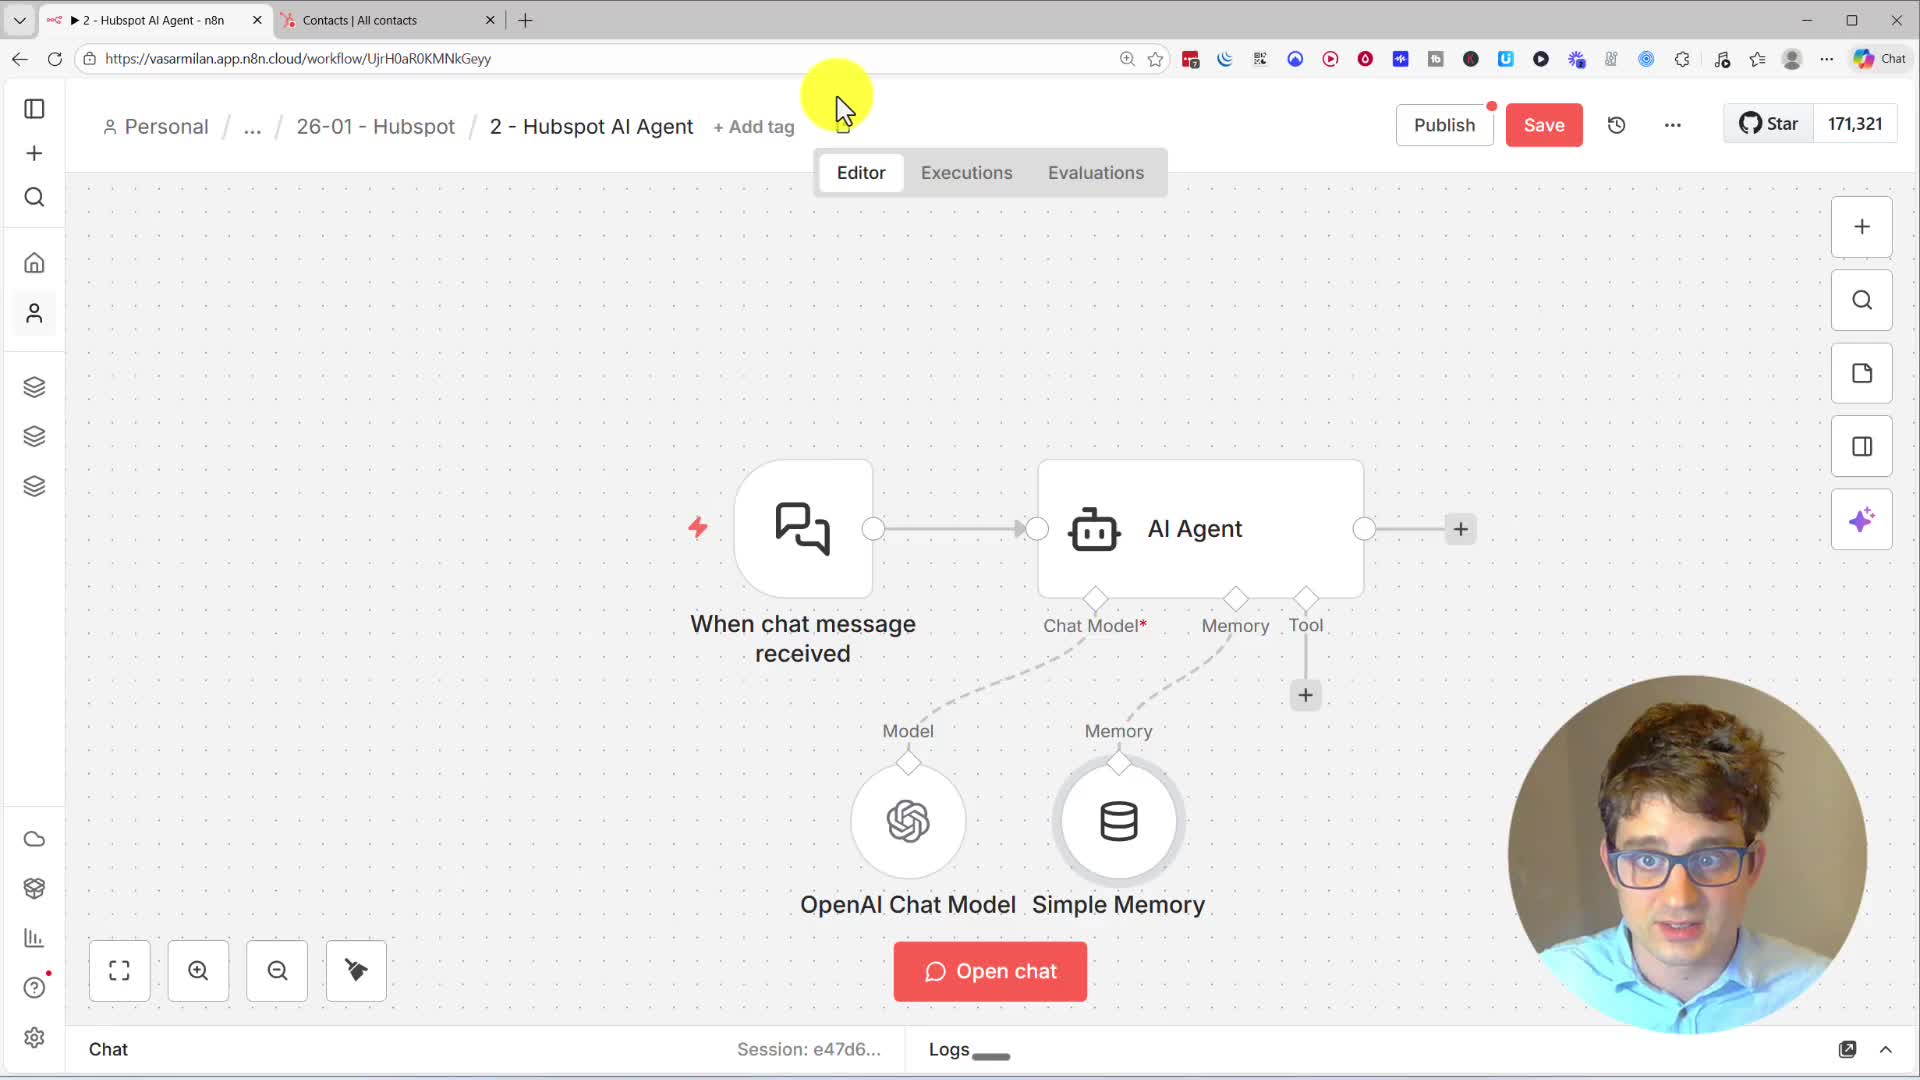
In a new workflow, add an AI Agent node. This will be the brain of our operation. The agent needs three key components:
1. Chat Model: This is the language model that powers the conversation. We’ll use the OpenAI Chat Model node.
2. Memory: To remember past interactions and maintain context, add a Simple Memory node.
3. Tool: This gives the agent capabilities. We will add a HubSpot Tool to allow it to interact with the HubSpot API.
Configuring the HubSpot Tool
First, we’ll give our agent the ability to add new contacts. In the HubSpot tool, set the operation to Create or update a contact. For parameters like Email, Company Name, First Name, and Last Name, set them to be Defined automatically by the model. This allows the AI to extract these details from your chat message.
Testing the Agent
Save the workflow and open the chat panel. You can now test the agent by giving it a command like, “Add a new contact to HubSpot: Michael Scott, michaelscott@gmail.com, Company: Michael Scott Paper Company.” The agent will process your request, use the HubSpot tool, and add the contact to your account.

Making the Agent More Versatile with Multiple Tools
A single agent can use multiple tools. Let’s add the ability to search for contacts. Add another HubSpot Tool to the AI Agent. This time, configure it to Search contacts. You can create a tool specifically for searching by company name by adding a filter for the Company Name property and setting its value to be defined by the model.
You can add even more tools, such as another search tool to find contacts by email. With multiple tools configured, the AI agent is smart enough to choose the most appropriate one based on your request. For example, if you ask, “Can you find all our contacts from Michael Scott Paper Company?” it will use the company name search tool and return the relevant contact information, including a direct link to the record in HubSpot.