On average, a staggering 11 hours of a standard work week are spent on emailing. A significant portion of this time is dedicated to repetitive tasks like sending reminders, follow-ups, and regular customer emails. By automating these tasks, you can free up valuable time for higher-value activities that contribute to business growth.
In this tutorial, we’ll show you how to automate repetitive email sending directly from Google Sheets using the powerful automation tool, n8n.
Demo: What We'll Build
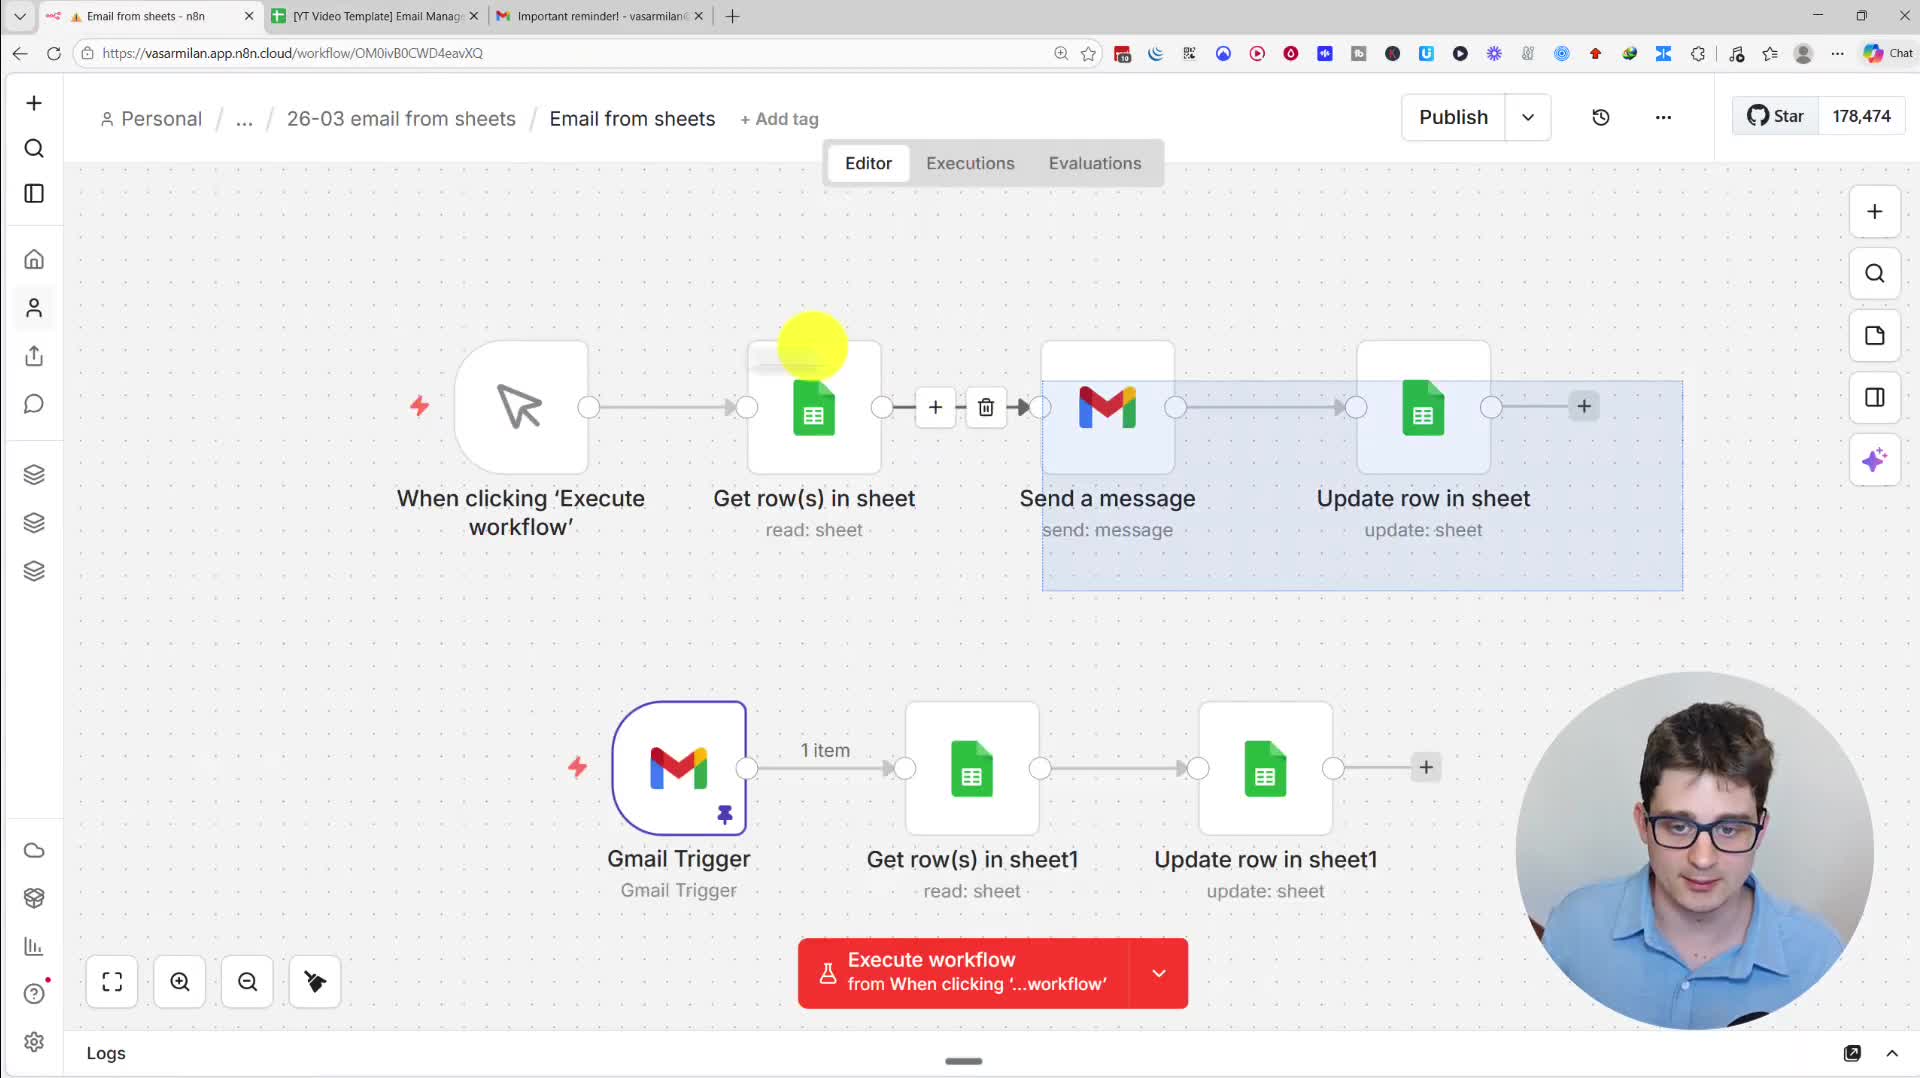
Let’s start with a quick look at the final product. We have a Google Sheet with columns for the recipient’s email, the message body, the subject, and a status. When we run our n8n workflow, it will:
1. Read all the rows from the sheet where the status is ‘To send’.
2. Send a personalized email to each recipient from our own Gmail account.
3. Update the status in the Google Sheet to ‘Sent’ to avoid sending duplicate emails.
We will also explore how to track responses to these emails and even use AI to generate personalized email content, all within the same system.
Why Choose n8n for Automation?
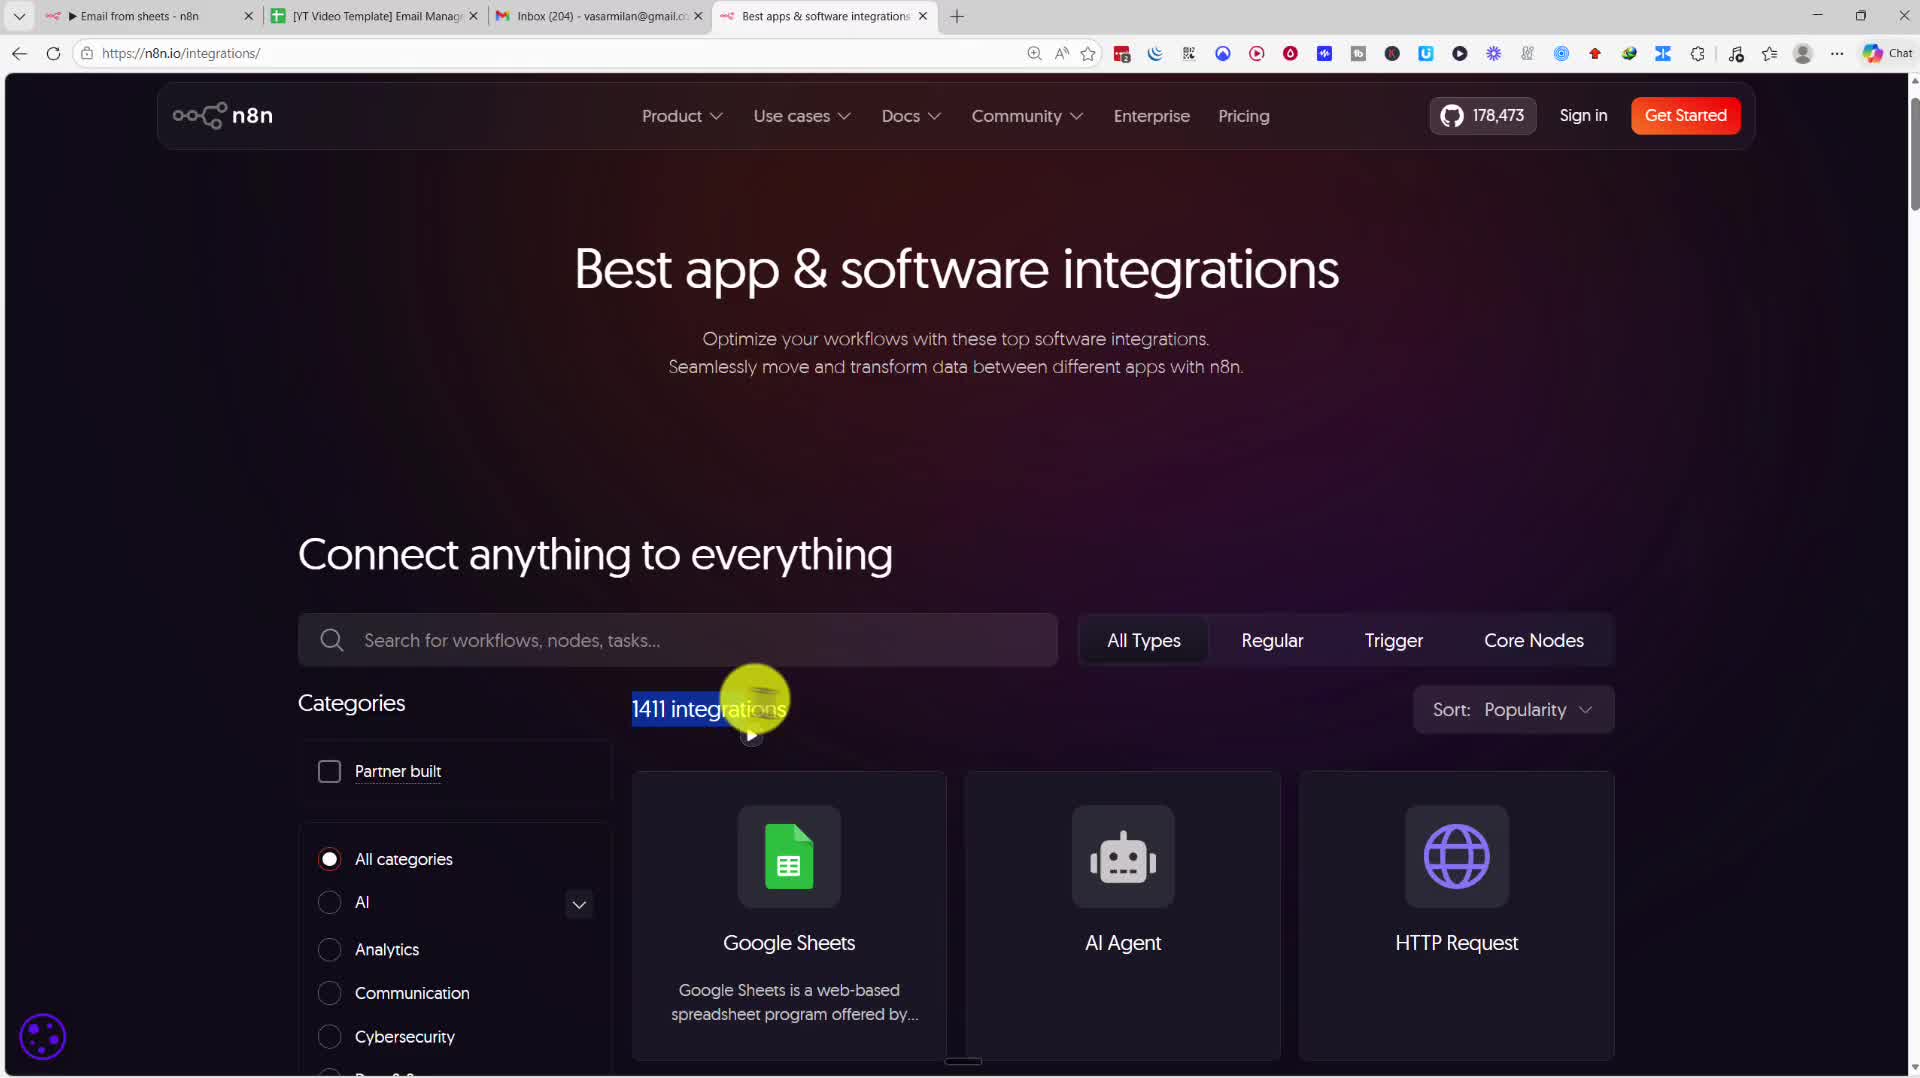
If you’re not familiar with n8n, it’s a super-flexible automation and integration platform with built-in AI agent capabilities. It currently supports over 1,400 integrations, including Google Sheets, Gmail, and virtually any business application you can imagine.
A key advantage of n8n is its cost-effectiveness. Depending on your workload, its pricing can be up to 80-90% lower than major alternatives like Zapier and Make. You can try the cloud version for free for 14 days, or for more technical users, you can self-host it on your own server for free with unlimited executions.
Building the Email Automation Workflow
Step 1: Setting Up the Google Sheet
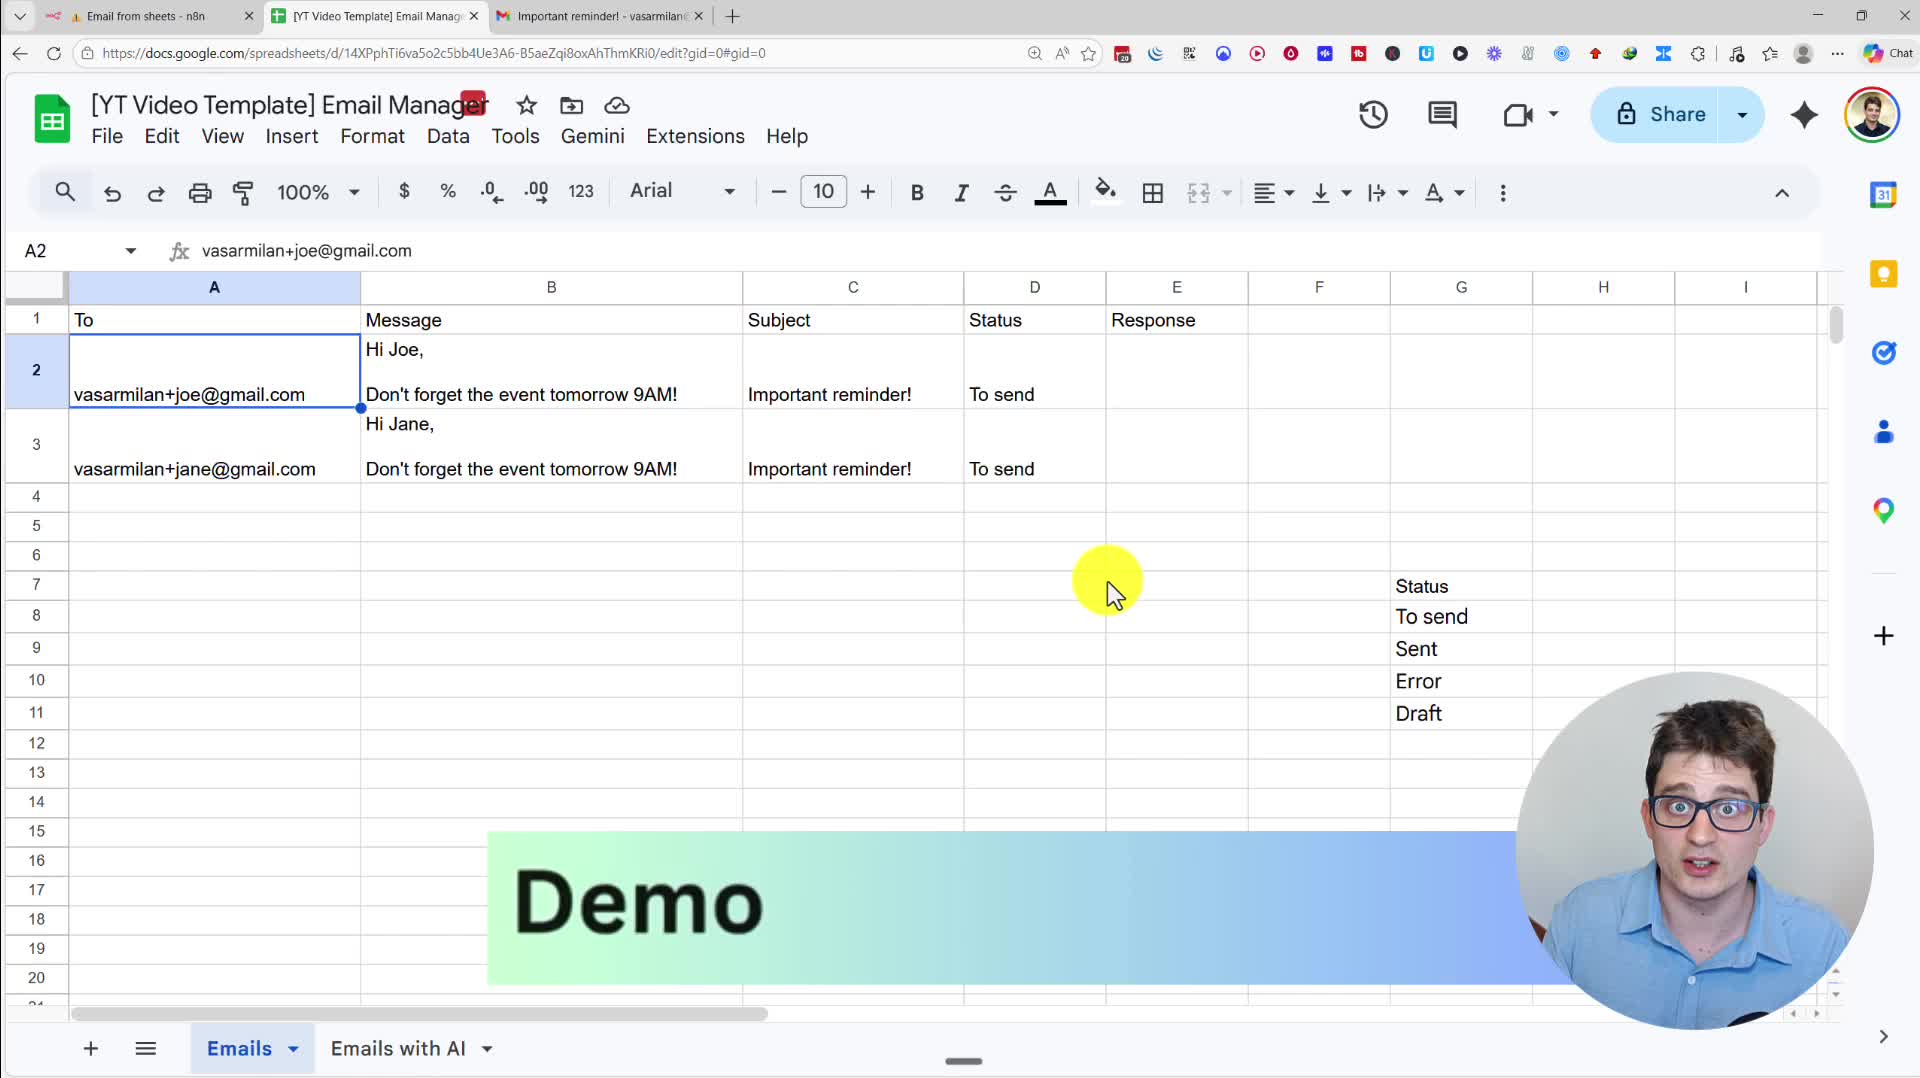
First, let’s create our Google Sheet. This will act as our email manager. We need columns for ‘To’ (the recipient’s email address), ‘Message’ (the body of the email), ‘Subject’, and ‘Status’. The ‘Status’ column is crucial for tracking which emails are ready to be sent and which have already been sent.
Step 2: Creating the n8n Workflow
In your n8n workspace, create a new workflow from scratch. The first step, or ‘node’, will be to get the data from our sheet.
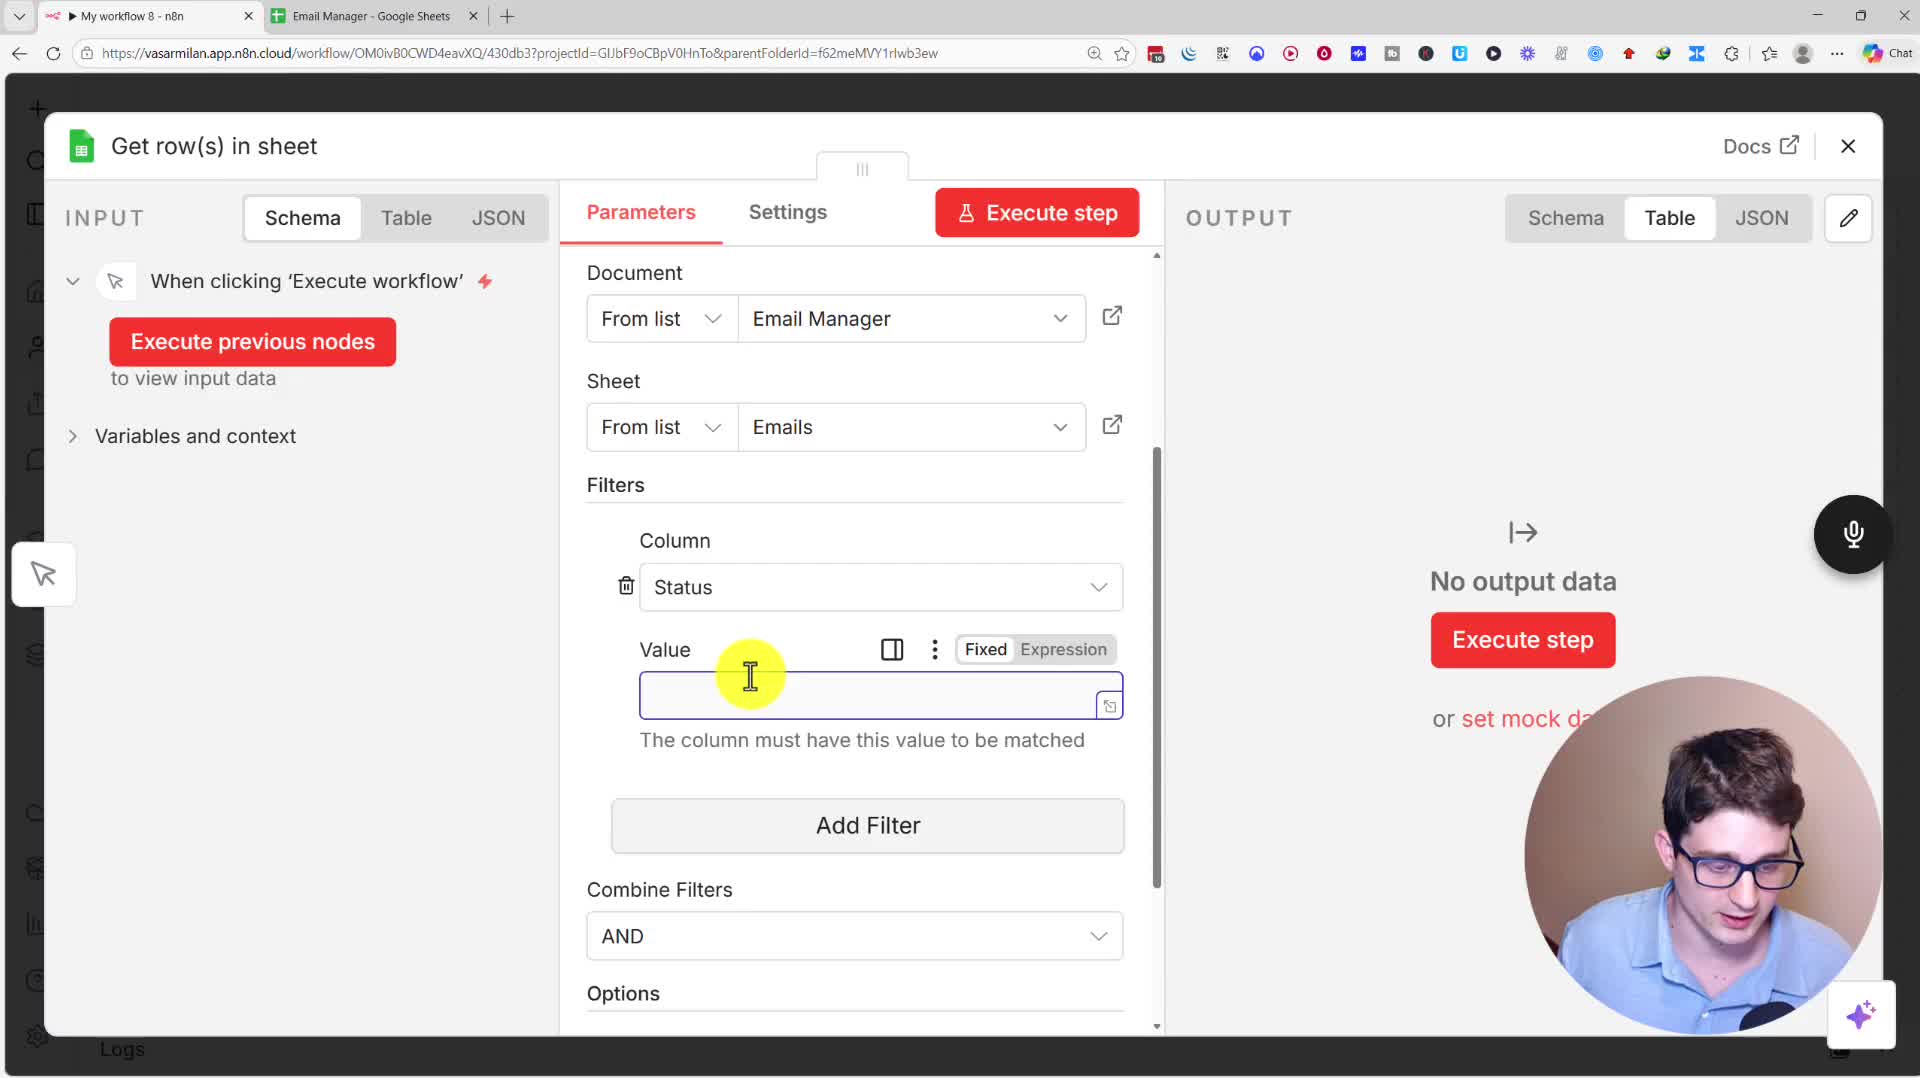
1. Get Row(s) in Sheet: Add a Google Sheets node. If you haven’t already, you’ll need to connect your Google account by creating a new credential. Once connected, select the ‘Get Row(s)’ operation.
2. Select Document and Sheet: Choose the ‘Email Manager’ spreadsheet and the specific sheet containing your email data.
3. Add a Filter: This is a critical step. We only want to pull rows that are ready to be sent. Add a filter where the ‘Status’ column value is ‘To send’.
4. Execute Step: Test the node to ensure it correctly pulls the intended rows from your sheet.
Step 3: Sending the Email
Next, we’ll add a node to send the emails.
1. Add a Gmail Node: Click the ‘+’ and search for the Gmail node, then select the ‘Send a message’ action. You may need to create a credential for Gmail as well.
2. Map the Data: Now, we need to tell the Gmail node what to send. Use the expression editor to map the data from the previous Google Sheets node. Drag the ‘To’, ‘Subject’, and ‘Message’ fields from the input panel on the left into their corresponding fields in the Gmail node.
3. Execute Step: Run the step to send the test emails.
Step 4: Updating the Sheet
The final step is to update our Google Sheet so we don’t send the same emails again.
1. Add Another Google Sheets Node: Add a new Google Sheets node and select the ‘Update Row’ operation.
2. Match the Row: We need to tell n8n which row to update. Set the ‘Column to match on’ to row_number. Drag the row_number field from the initial ‘Get row(s)’ node’s input into the ‘row_number (using to match)’ field.
3. Update the Status: In the ‘Values to Update’ section, set the ‘Status’ field to the static value ‘Sent’.
4. Execute: Run the step to update the status in your sheet.
Advanced Features: Response Tracking & AI Personalization
Tracking Email Responses
You can also build a second workflow to track replies. This workflow starts with a ‘Gmail Trigger’ set to ‘On message received’. It then gets the row from your Google Sheet by matching the sender’s email address and updates a ‘Response’ column with the body of their reply.
Generating Emails with AI
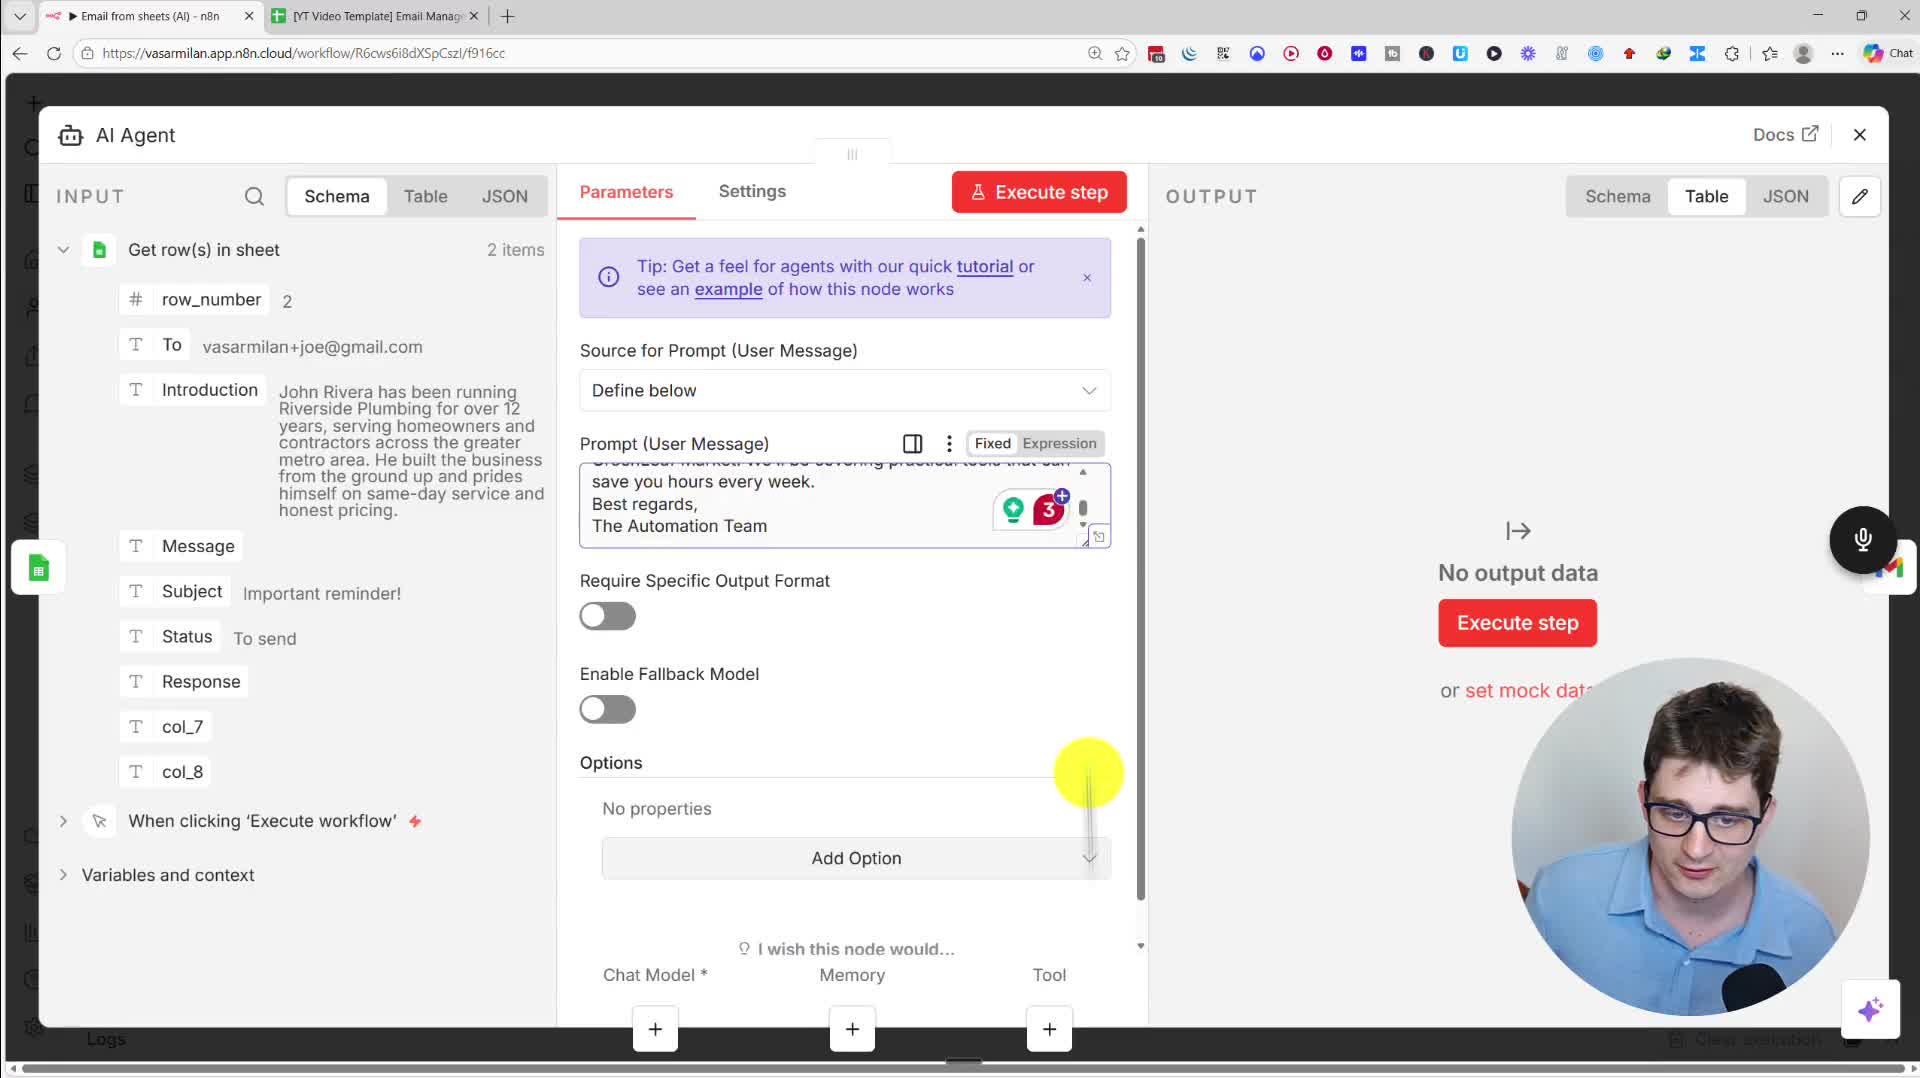
To take it a step further, we can use AI to write personalized emails. In your Google Sheet, remove the ‘Message’ content and add a new column called ‘Introduction’ with a brief, one-sentence description of each recipient.
In your n8n workflow, insert an ‘AI Agent’ node between the ‘Get row(s)’ and ‘Send a message’ nodes. Write a detailed prompt for the AI, instructing it to create a short, personalized reminder email based on the recipient’s ‘Introduction’. Provide an example of the desired output format. Connect your preferred chat model (e.g., OpenAI), and then map the AI’s output to the ‘Message’ field in the Gmail node. This allows you to send highly tailored emails at scale, automatically.