n8n Workflows
- Categorize incoming emails and draft responses with AI in Gmail (JSON Direct Link | n8n template link)
Video
Video Summary
In this tutorial, you’ll learn how to build a simple but powerful AI agent in n8n that manages your emails. This agent can automatically categorize incoming emails, add labels, and even draft responses for you, saving you hours of work each week.
How the AI Email Agent Works: A Quick Demo
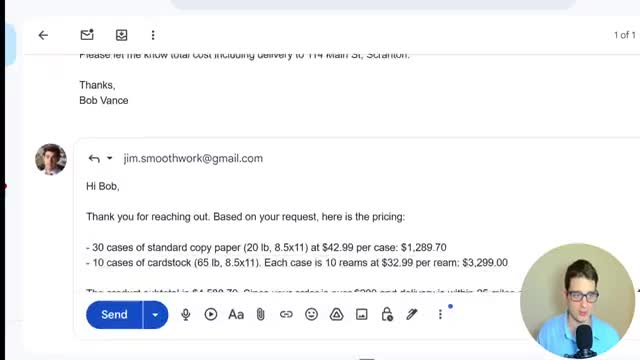
First, let’s see the agent in action. An email comes in asking for a price quote on a paper order. This email triggers our n8n workflow. The AI agent processes the email, understands that it’s a quotation request, and performs two main actions:
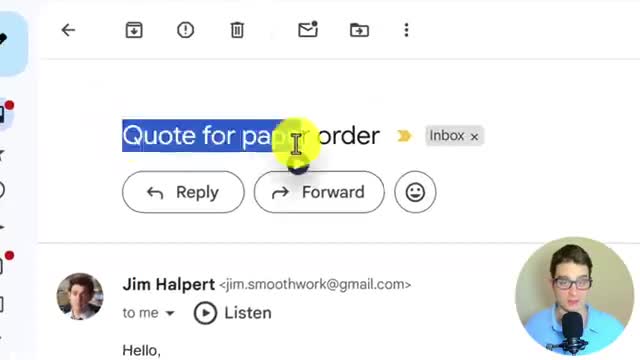
1. It adds a “Quotation Requests” label to the email in Gmail for easy organization.
2. It drafts a detailed reply based on a pre-defined knowledge base, calculating the total cost and including information about delivery and potential discounts.
The result is a perfectly drafted email ready for you to review and send with a single click.
Step 1: Setting Up the Gmail Trigger
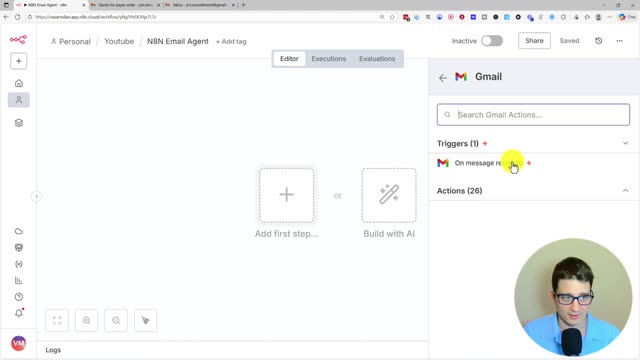
To start, we need a way to kick off our automation whenever a new email arrives. We’ll use the n8n Gmail Trigger for this.
1. Add a new node and search for the Gmail trigger.
2. Select the “On message received” trigger.
3. Connect your Gmail account. If you’re on n8n cloud, this is a simple sign-in process. For self-hosted instances, you may need to follow the documentation for a more technical setup.
4. In the node settings, turn off the “Simplify” option. This is crucial as it ensures we receive the full text of the email for the AI to process.
Step 2: Creating a Knowledge Base
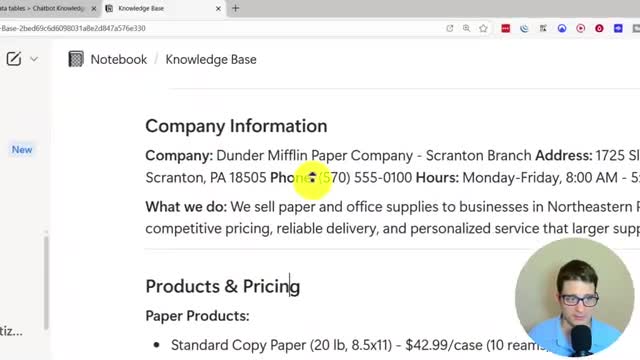
For our AI agent to provide accurate and helpful responses, it needs context about our business. This is where a knowledge base comes in. It can contain information like a response style guide, company details, product pricing, delivery policies, and answers to common questions.
While you can use an external tool like Notion, n8n has a built-in feature called Data Tables that is perfect for this. We’ll create a new data table to store our knowledge base directly within n8n.
1. Go to the “Data tables” section in n8n and create a new table (e.g., “Customer Support Knowledge Base”).
2. Add a column to hold the text.
3. Paste all your business information into a single row in this table.
4. Back in your workflow, add a “Get row(s)” Data table node to pull this information into your automation.
Step 3: Preparing Labels for the Agent
To allow the AI to categorize emails, we need to provide it with a list of available labels from Gmail.
1. Add a Gmail node and select the action Label > Get Many.
2. Set it to “Return All” to fetch all available labels.
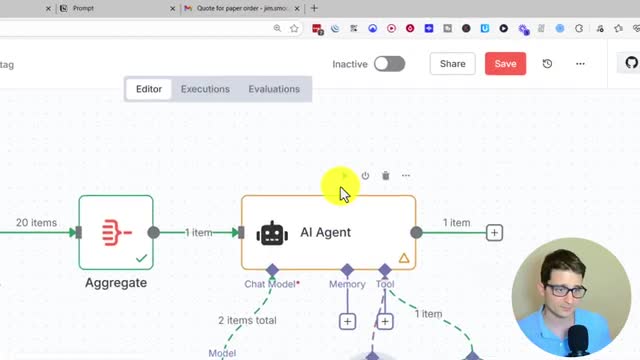
3. Add an Aggregate node to combine the list of labels into a single item. This ensures the AI Agent node runs only once with all the necessary context.
Step 4: Configuring the AI Agent
Now we get to the core of our automation: the AI Agent node.
Crafting the Prompt
The prompt tells the AI what its role is, what tasks to perform, and what information to use. Our prompt will instruct the agent to act as an email assistant, categorize the email, and draft a response when appropriate. We’ll dynamically inject the email content, the knowledge base, and the list of labels into this prompt.
Connecting the Chat Model and Tools
1. Connect a chat model, like the OpenAI Chat Model, to the AI Agent. Choose your preferred model (e.g., GPT-5.1).
2. Add the tools the agent will use. For this workflow, we need three tools:
Telegram Tool: To send a notification with a link to the draft.
Gmail Tool (Add label): To categorize the email.
* Gmail Tool (Create a draft): To write the response.
When configuring the tools, set the dynamic fields (like the draft’s subject and message, or the label to apply) to be “Defined automatically by the model.” For static fields (like the email address to reply to or the thread ID), use expressions to pull data from the trigger node.
Step 5: Testing and Activation
With all the nodes configured, it’s time to run a final test. Execute the workflow manually. You should see the AI agent process the email, call the correct tools, add the label in Gmail, and create the draft. You will also receive a Telegram notification with a direct link to the newly created draft.
Once you’re satisfied, save and activate the workflow. Your AI email assistant is now live and ready to save you time!